How To – Sliding Buttons
This article will show you how to create an animated sliding effect for buttons in Adobe Muse using a very simple technique.
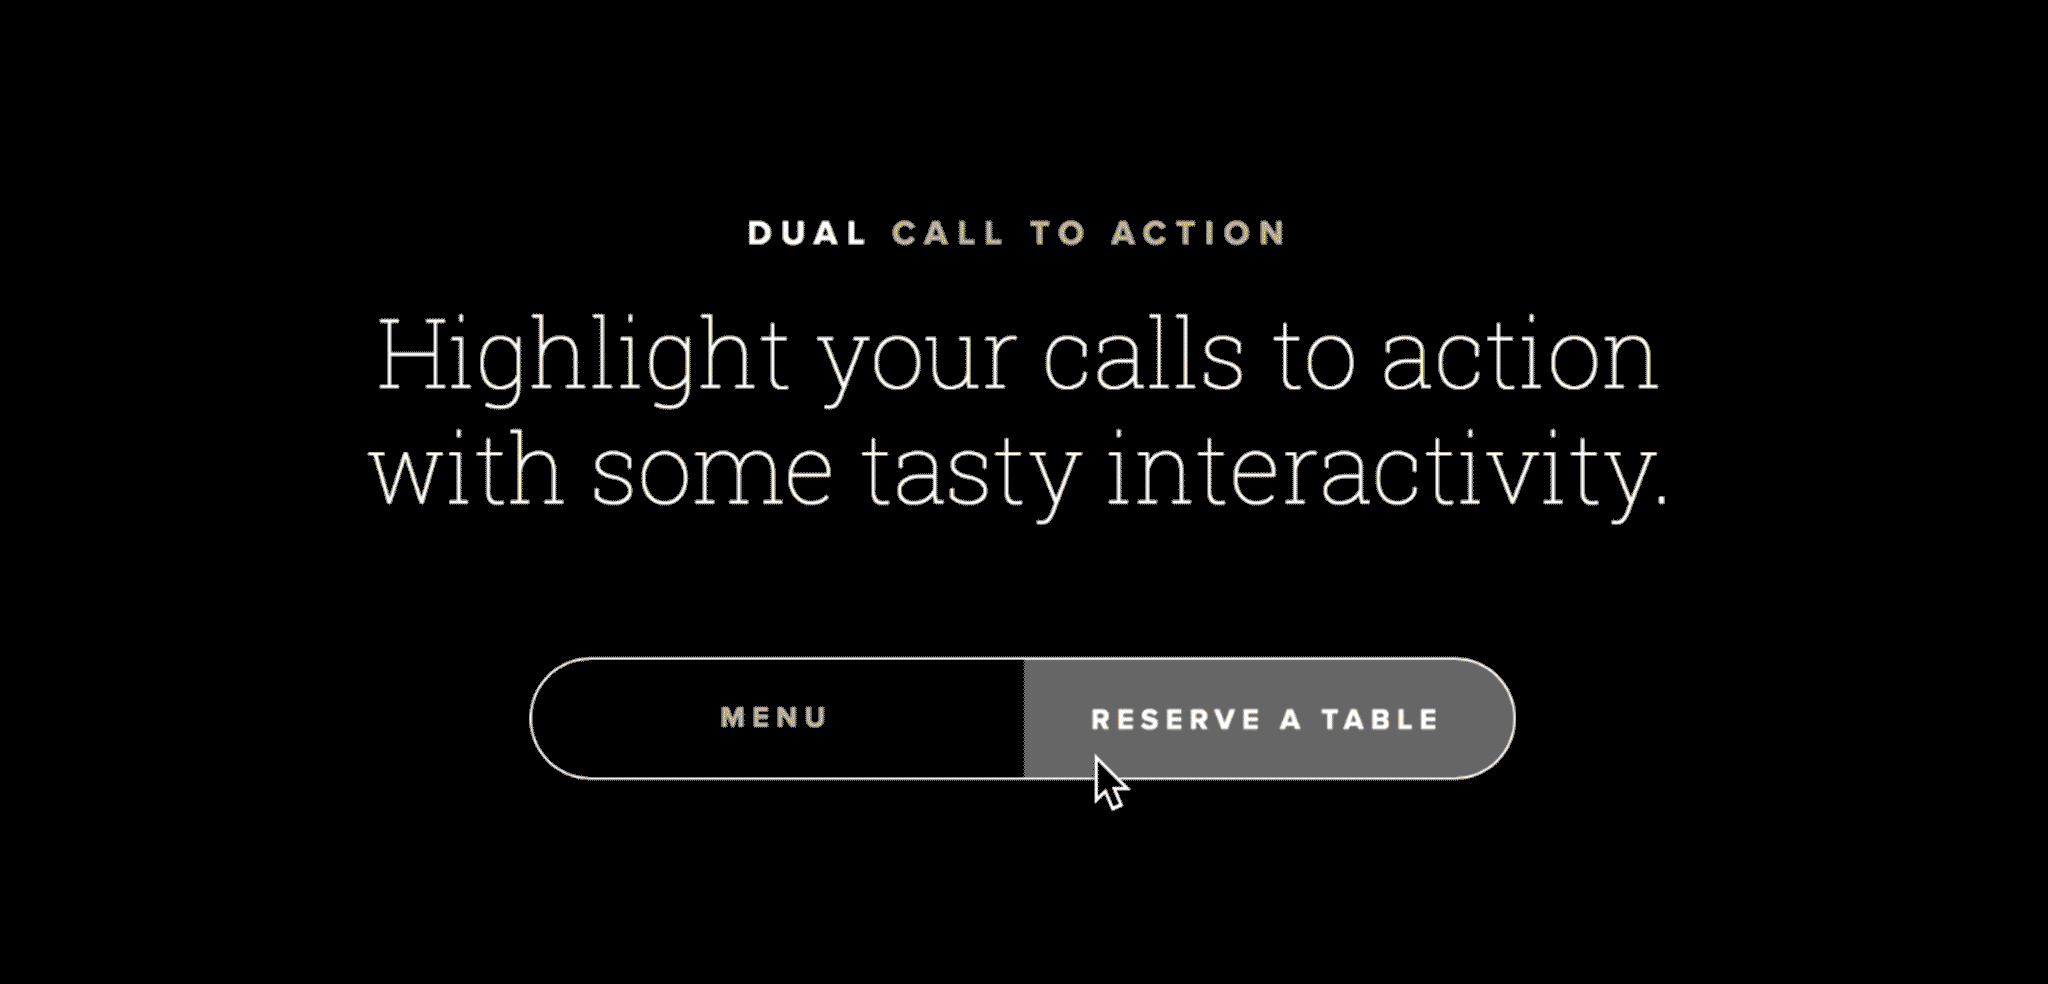
DEMO: http://demo.muse-themes.com/design-widget-sliding-buttons/index.html
Step-by-Step Tutorial
1. To begin, drag a button widget from the Widgets Library panel onto the canvas

2. Make the dimensions of your button 410px (w) x 50px (h)
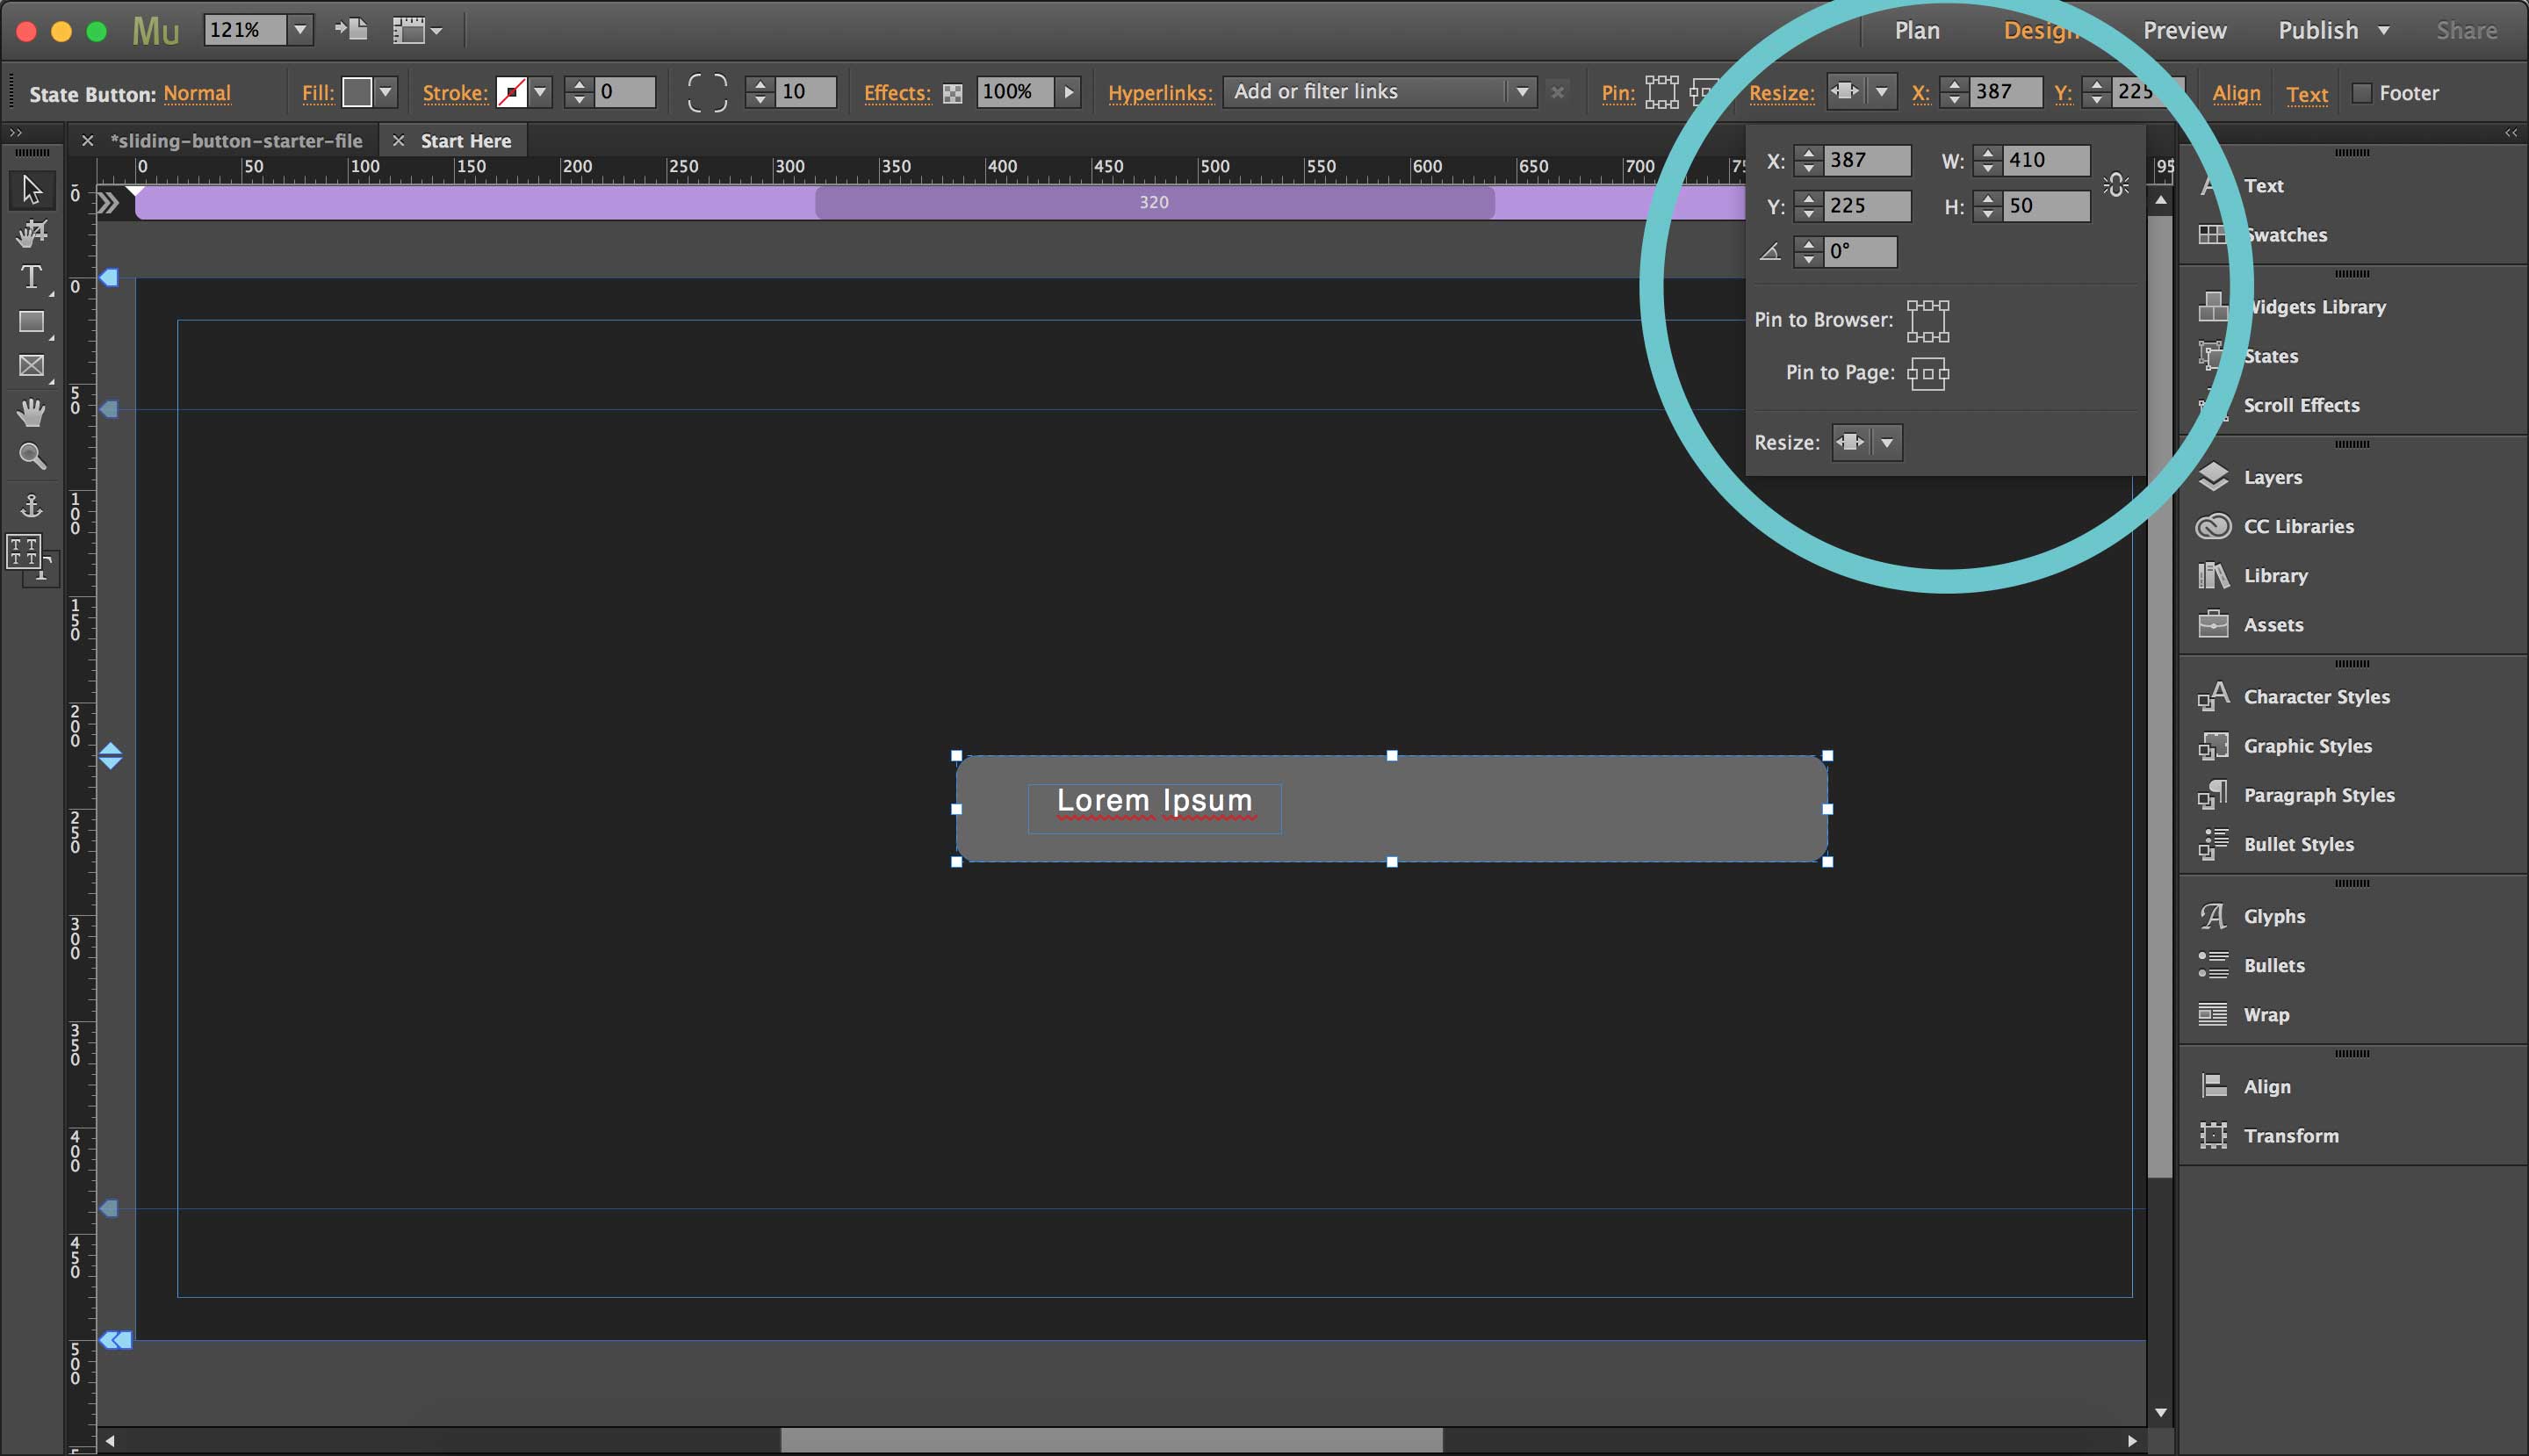
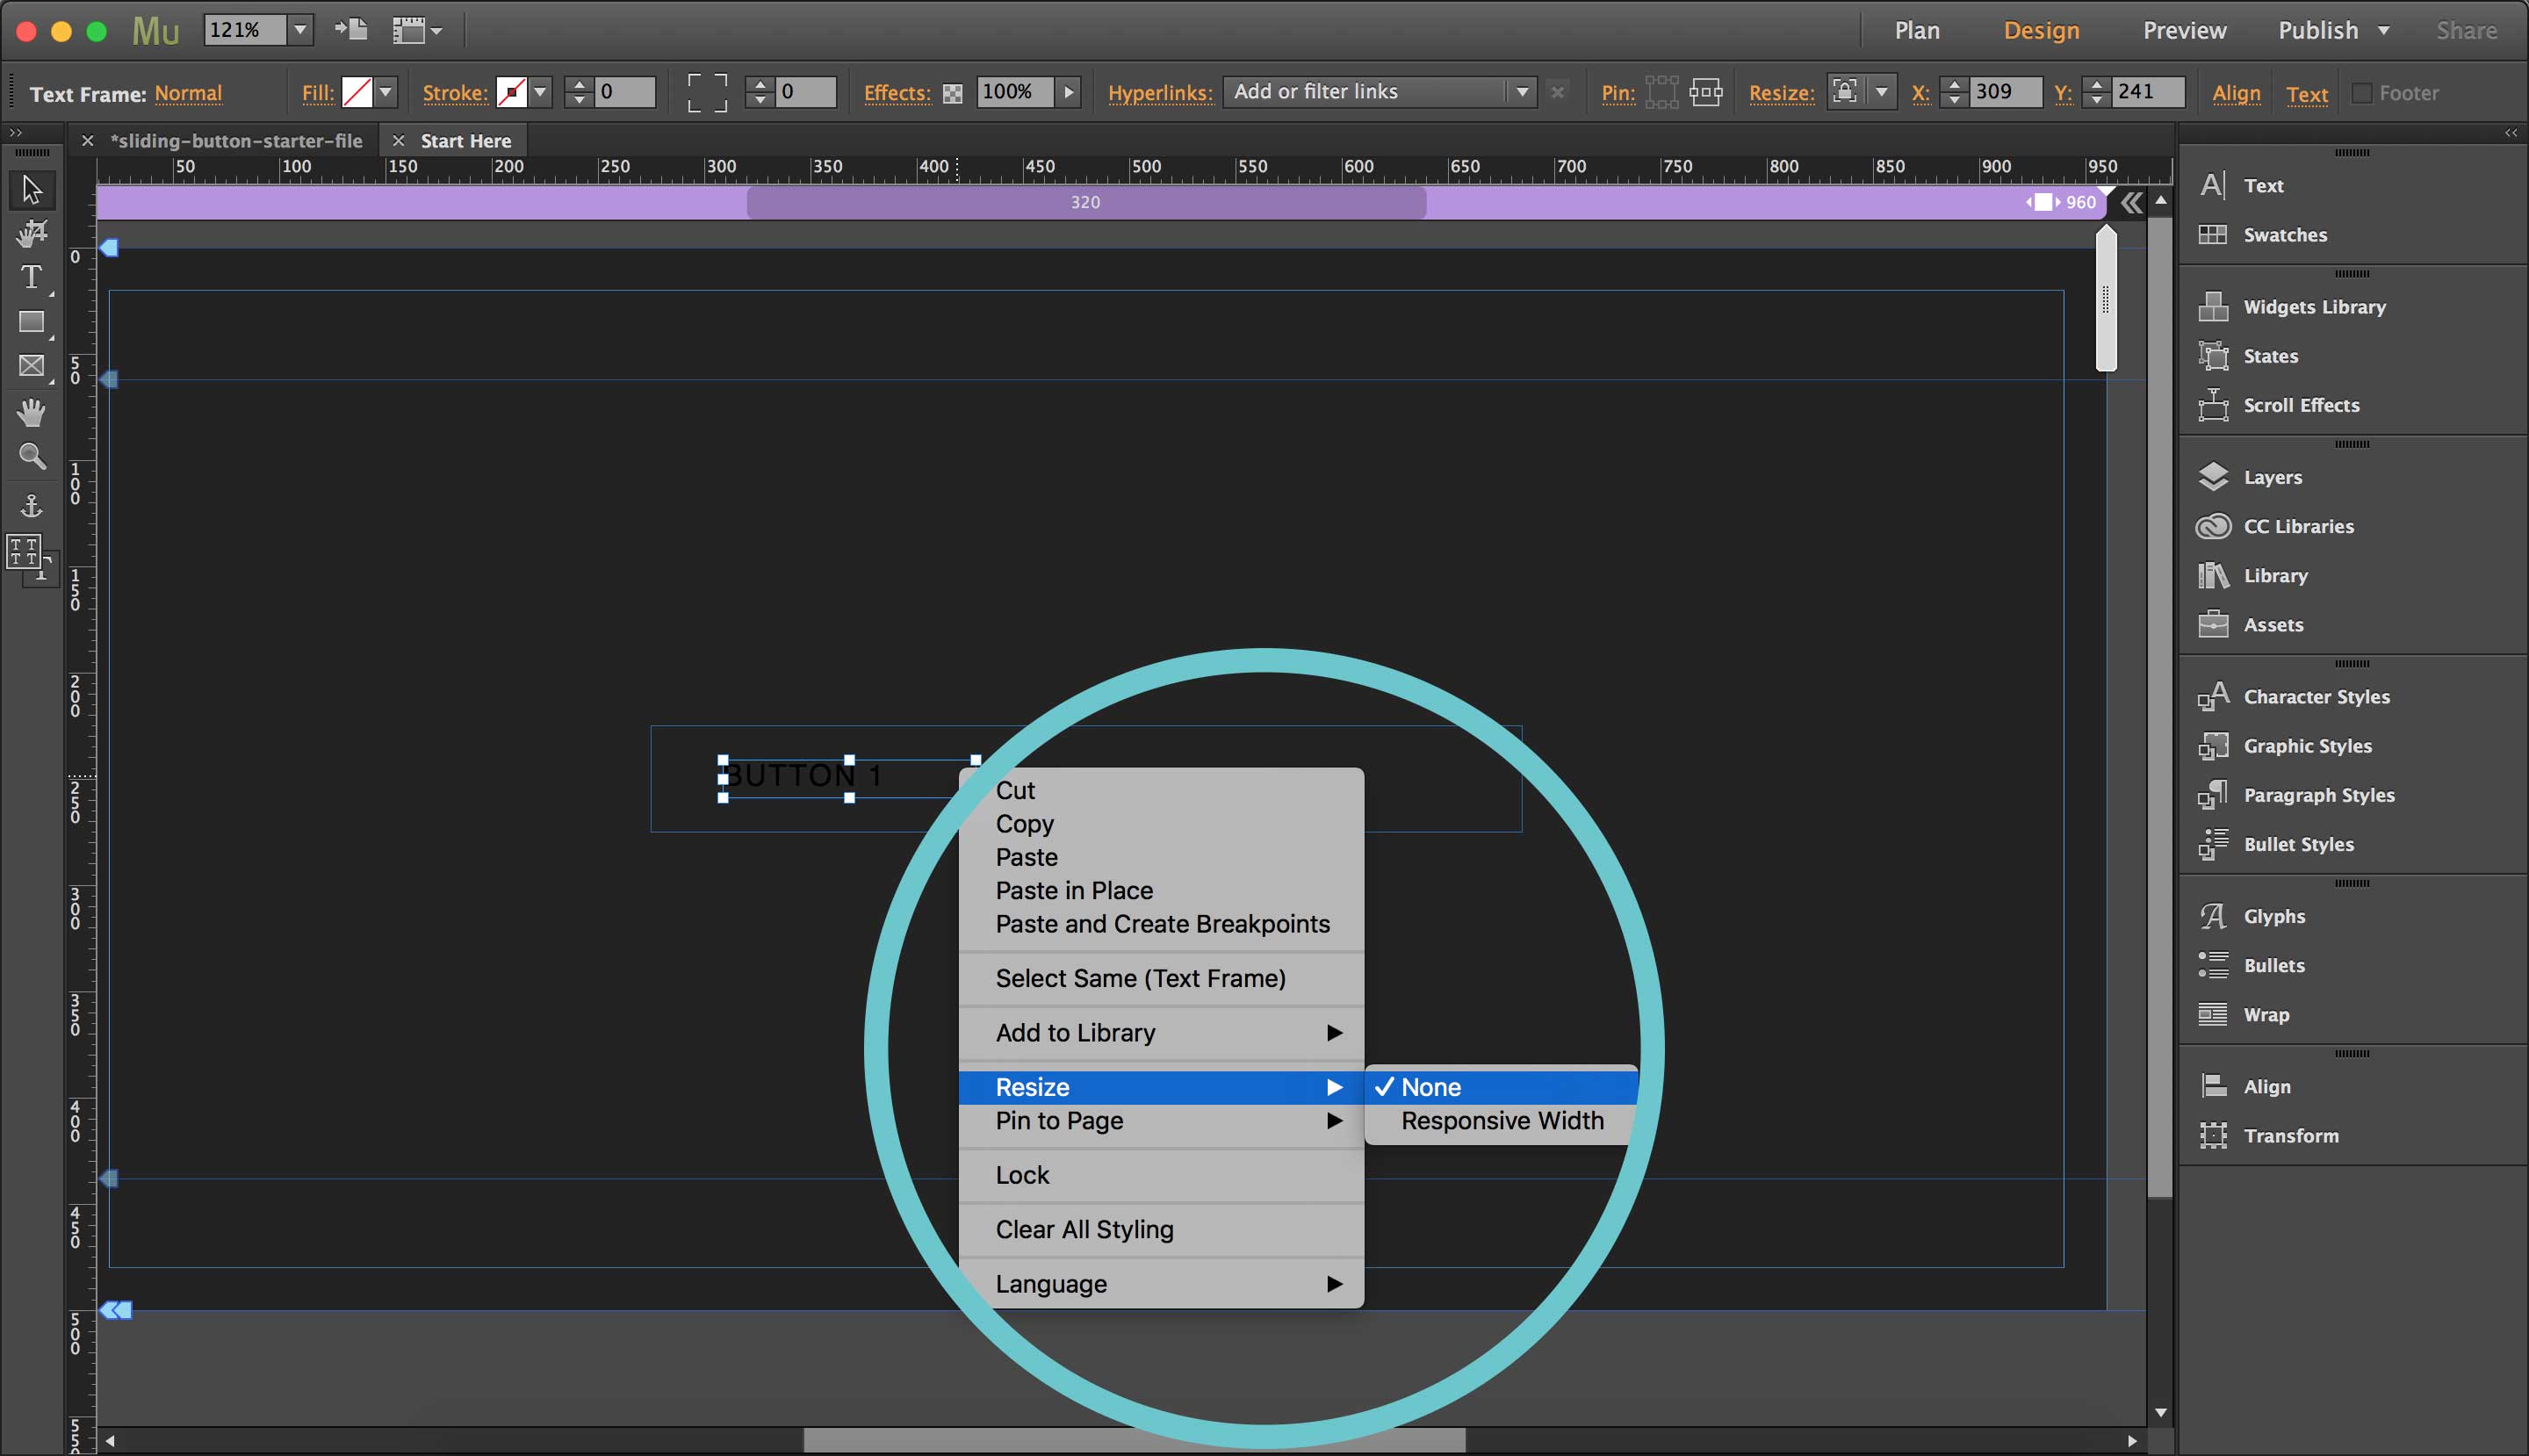
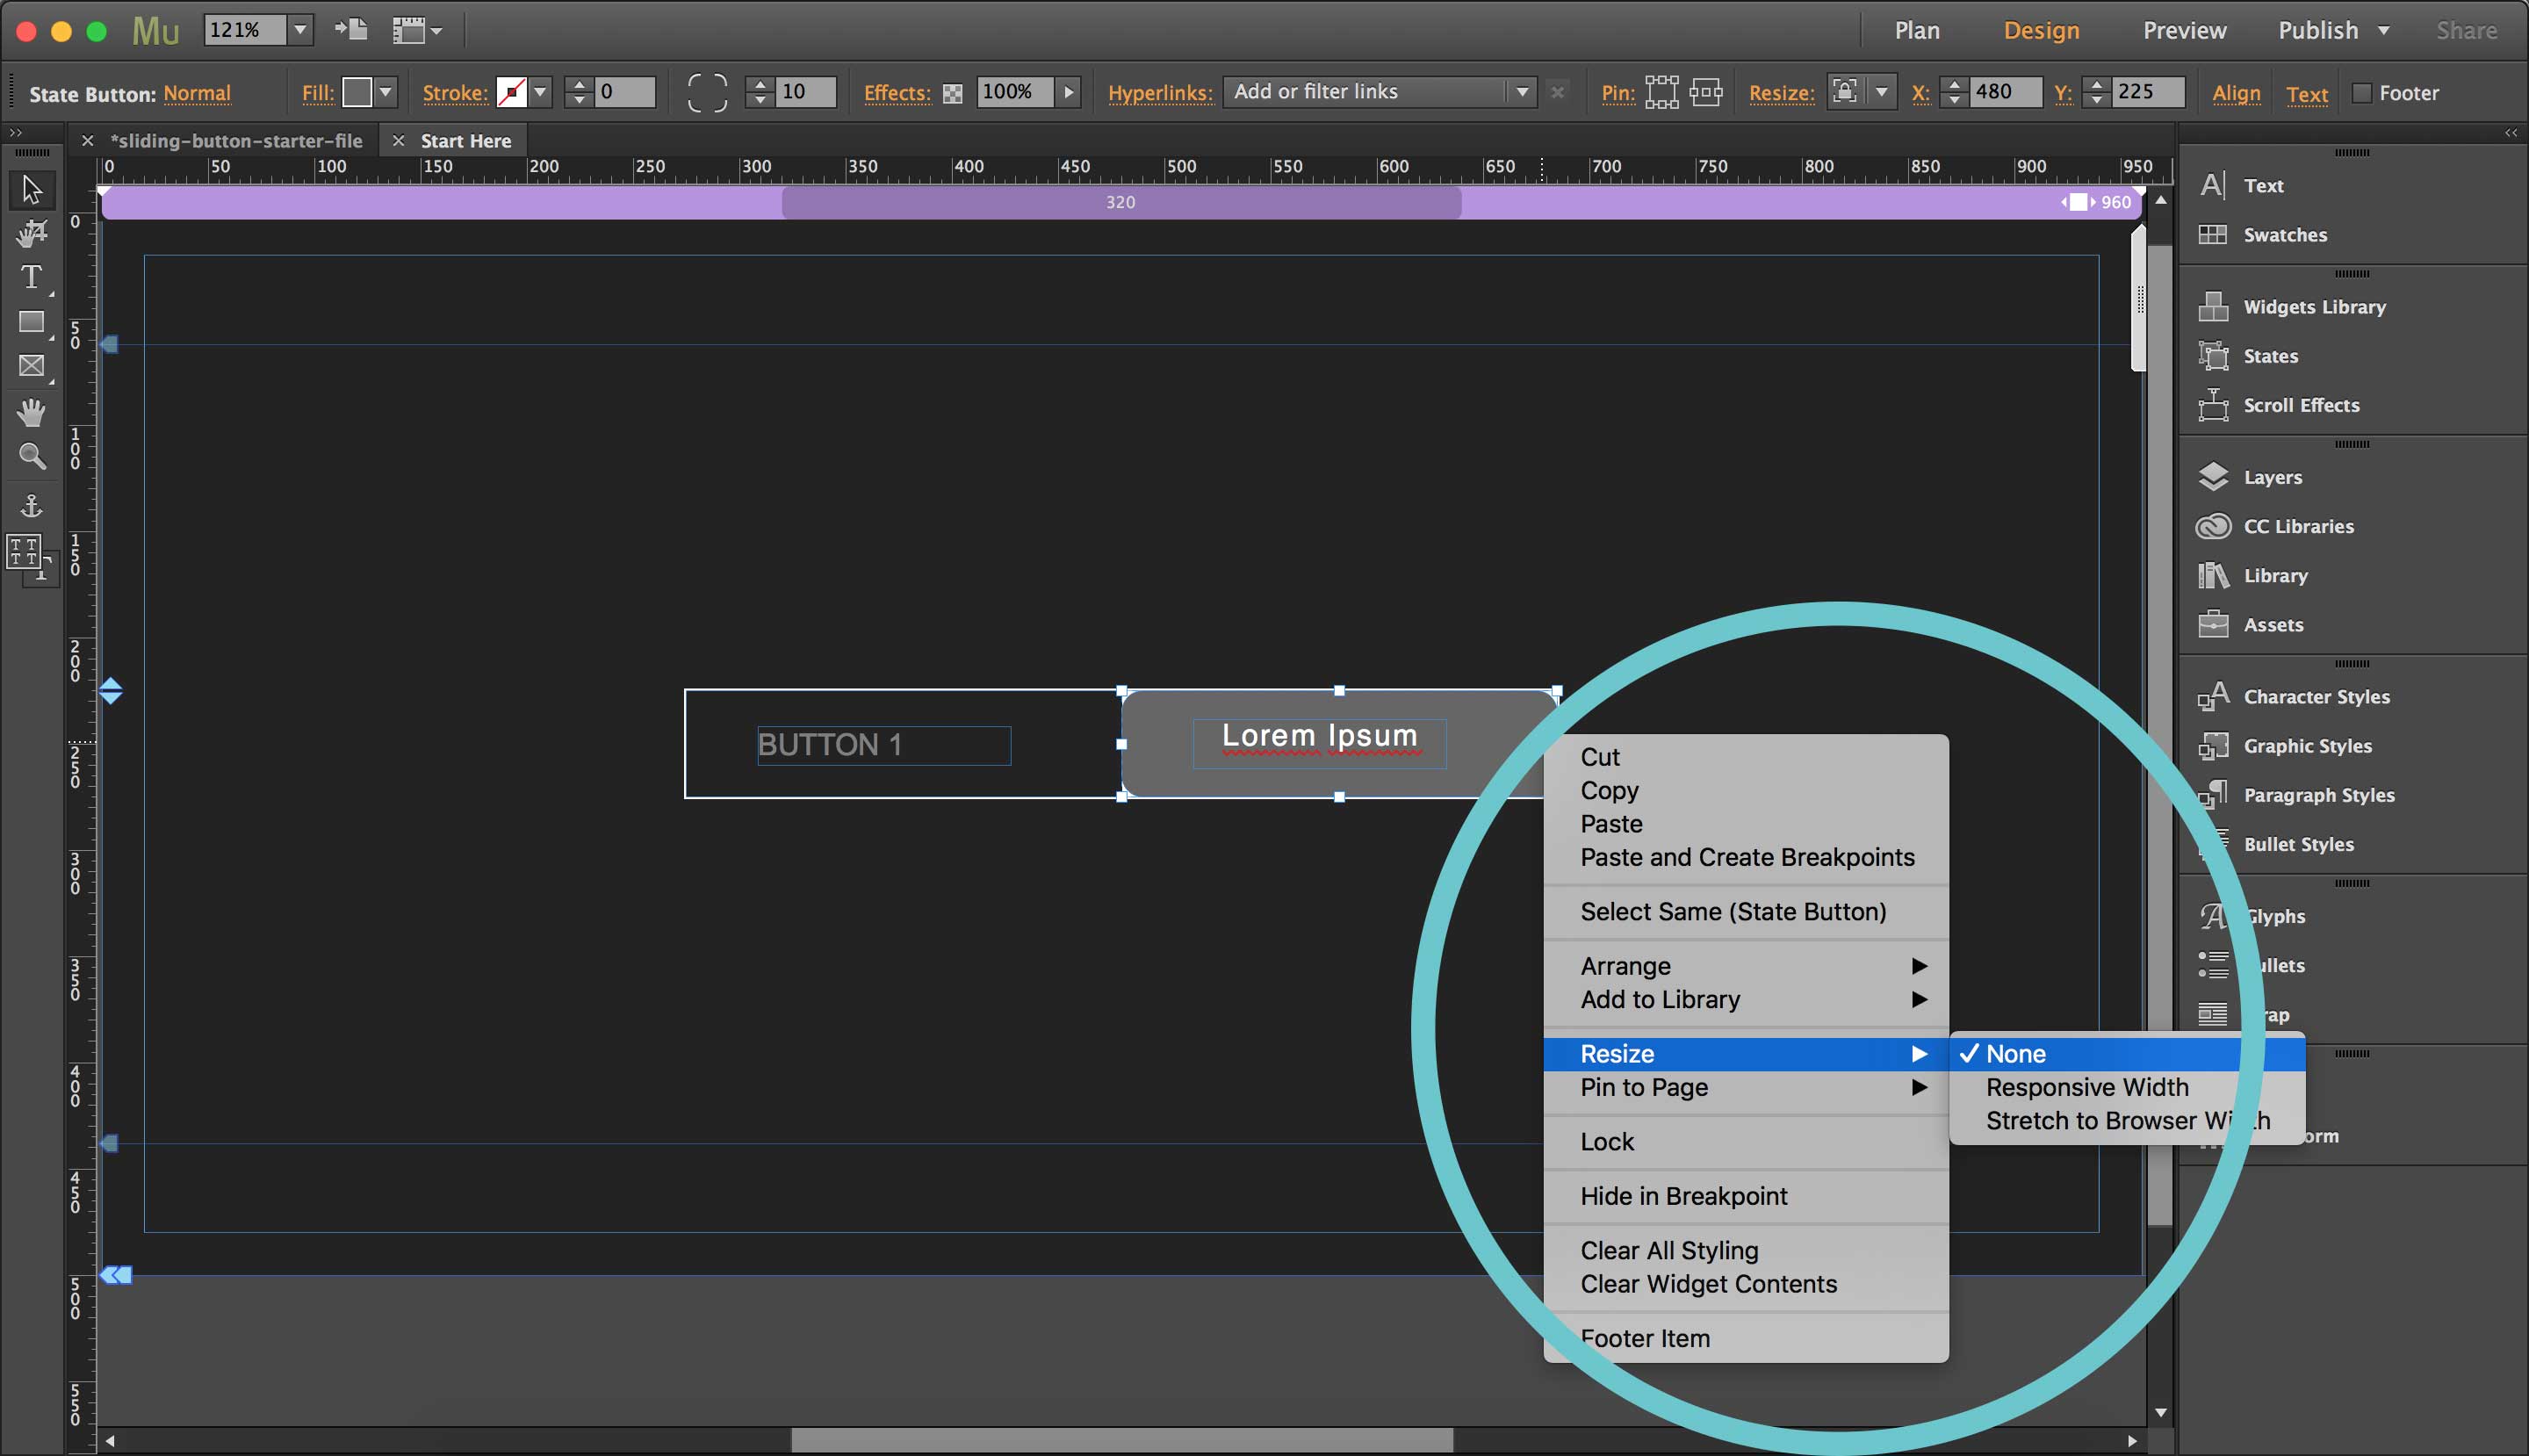
3. With the button selected, right click and select "Resize" - “None” from the responsive options in the drop down

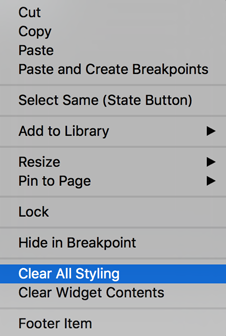
4. With the button selected, right click again and select “Clear All Styling" from the drop down
5. Click inside the button twice over the text box, so that the text of your button is selected
6. Right click the text and select "Resize" - “None" from the responsive options in the drop down
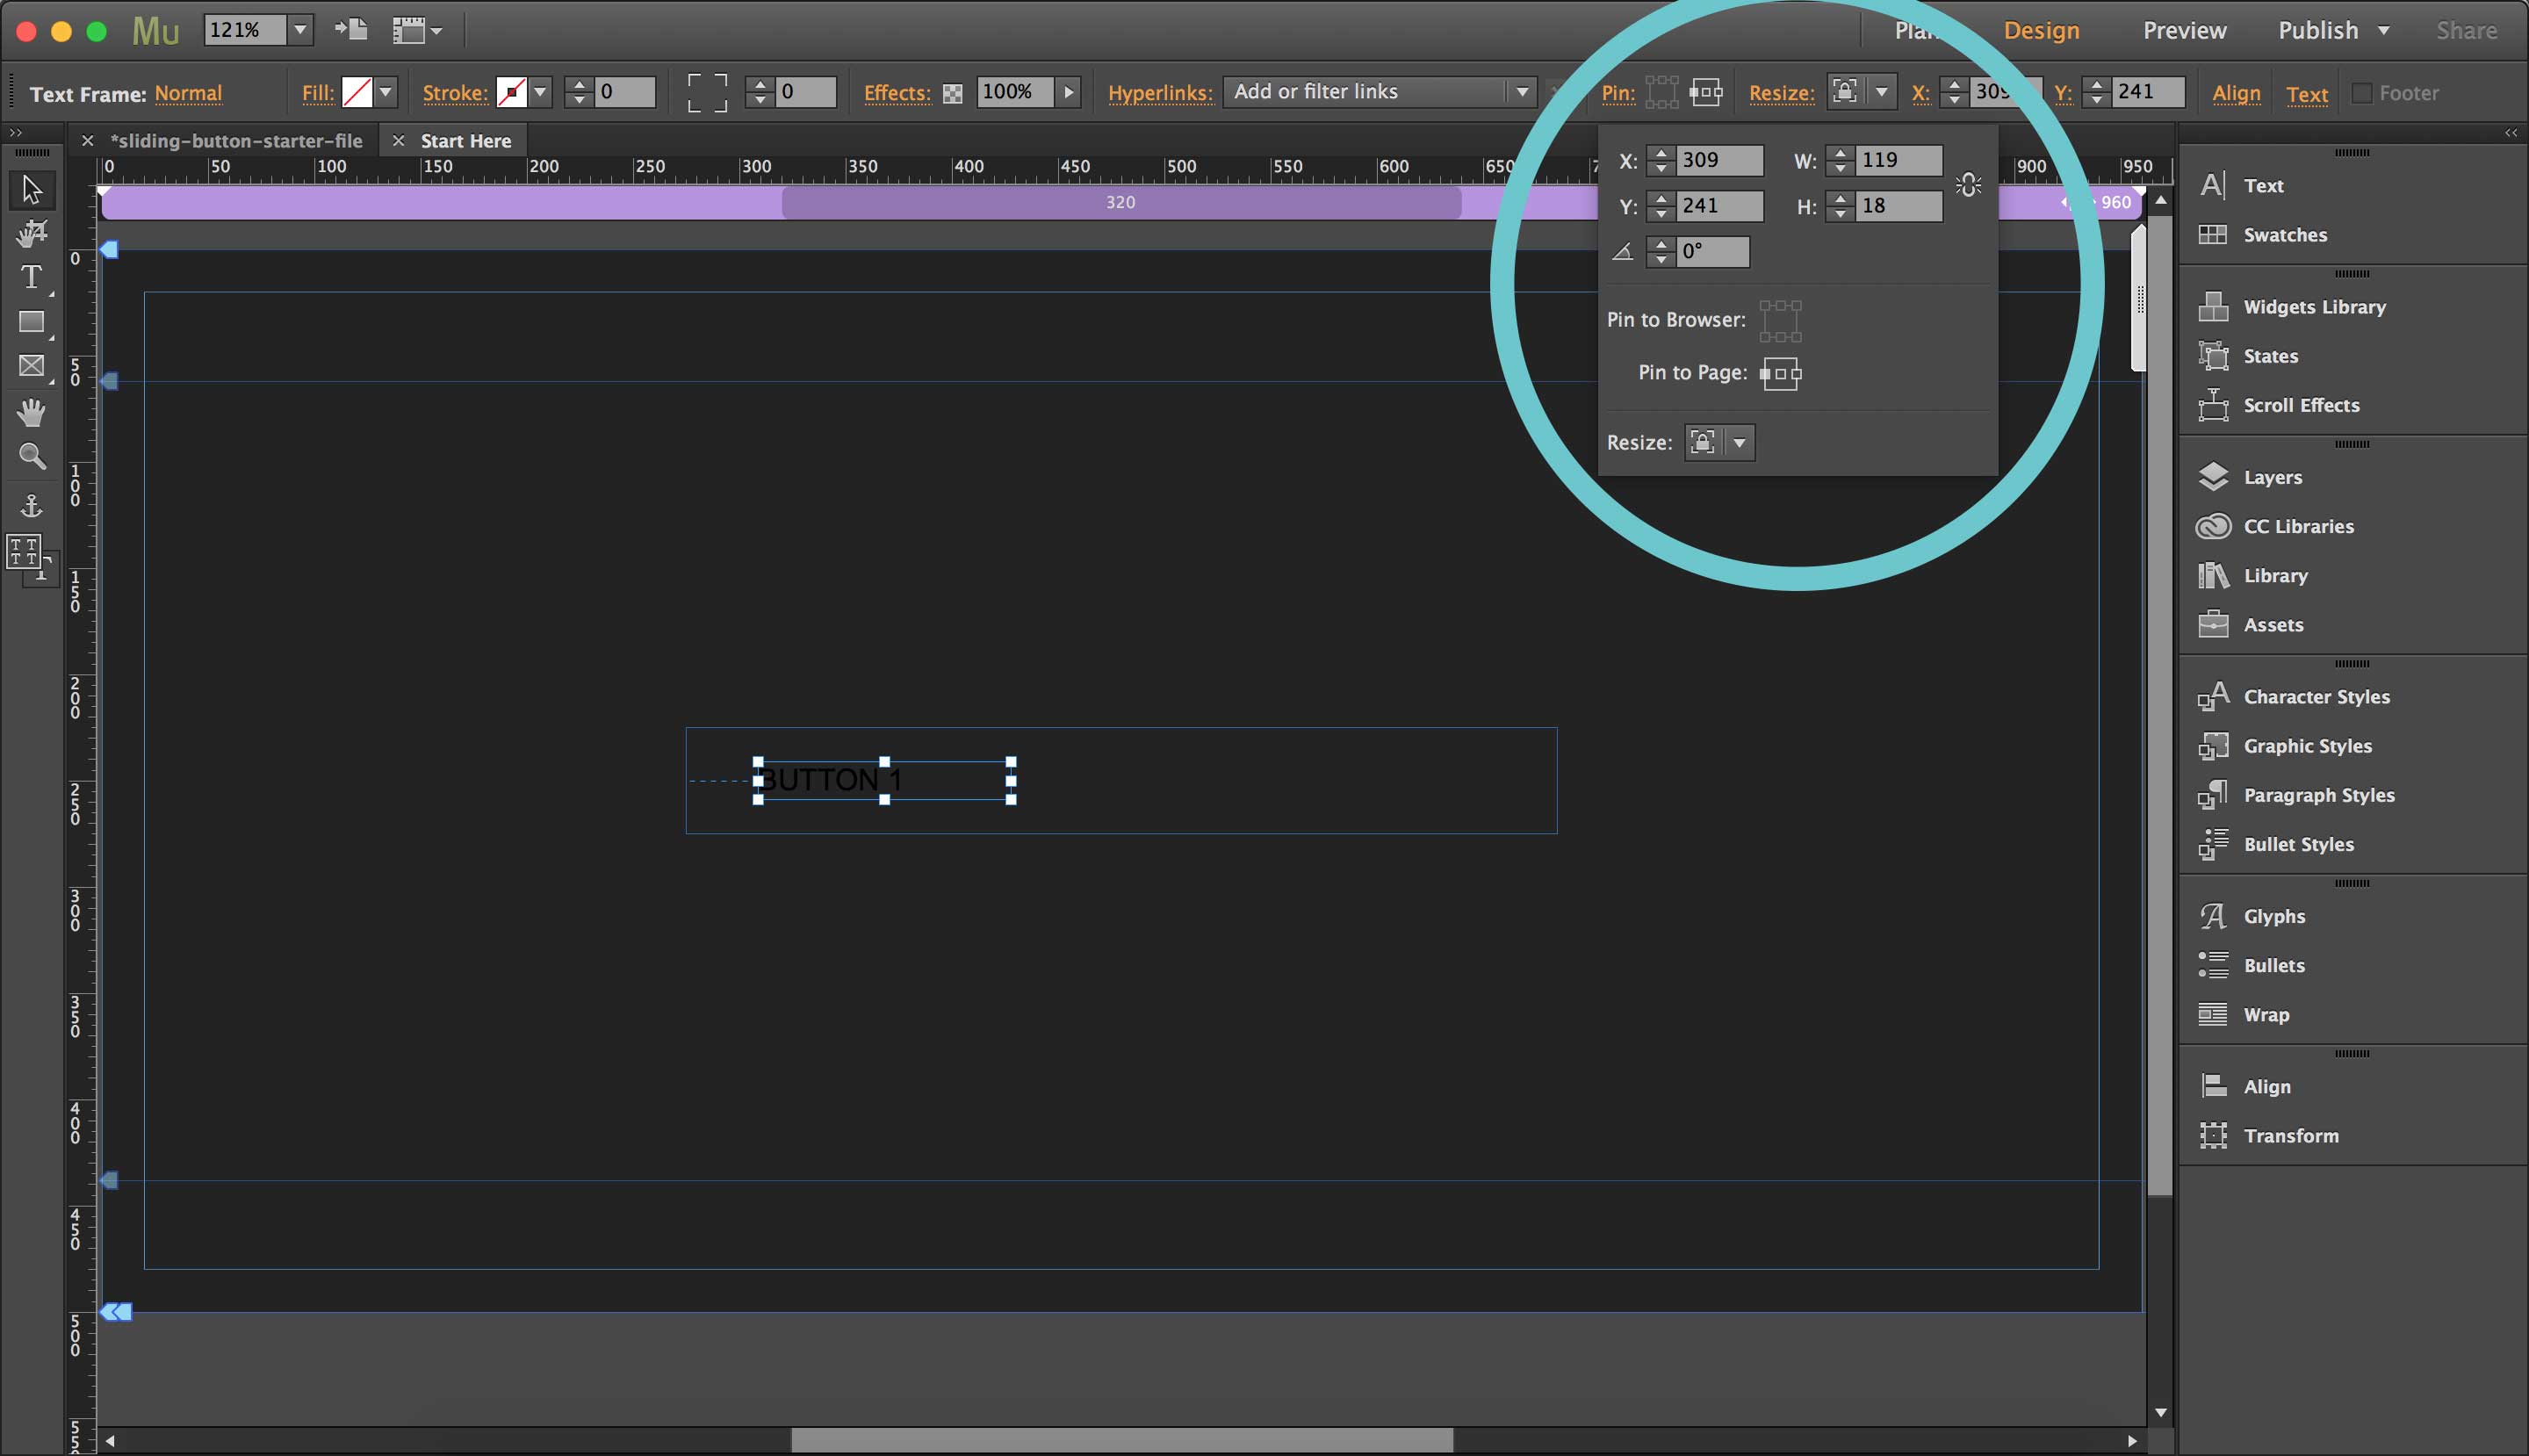
7. With the button text selected, go to the top Tool Bar and select Pin to Page: “Left”
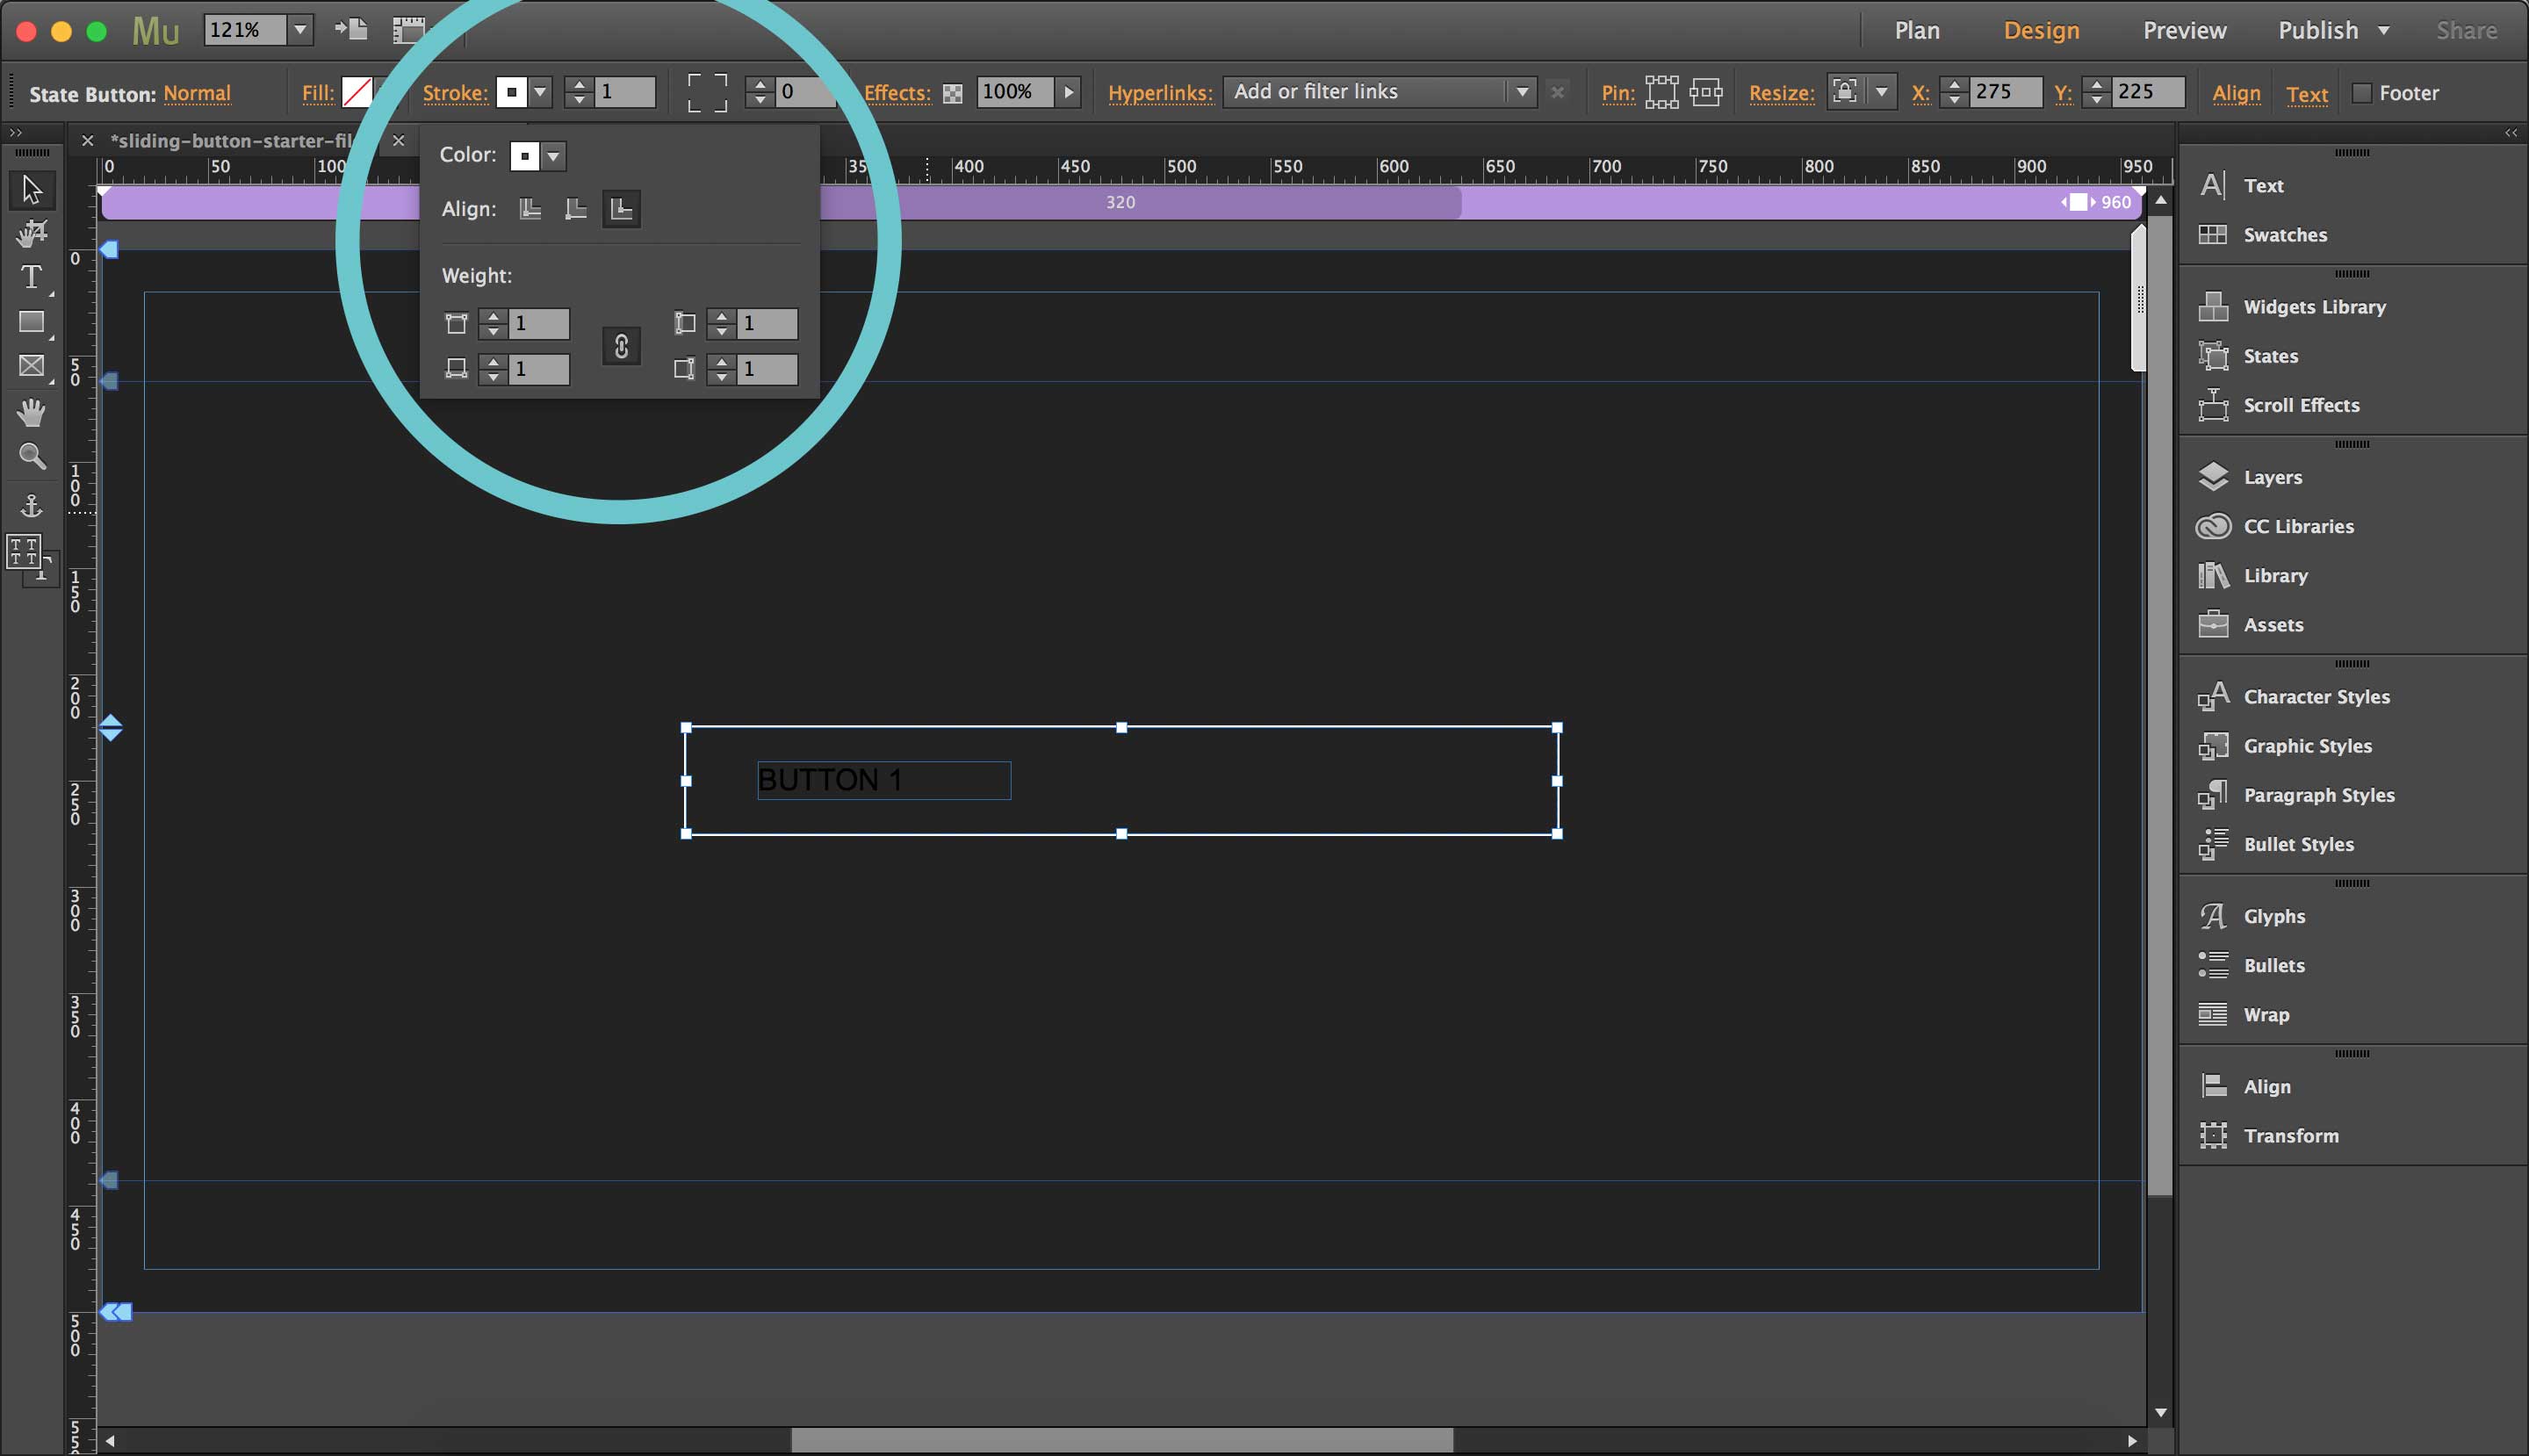
8. With the overall button selected, give the button a white 1px stroke under the Stroke options panel in the top tool bar
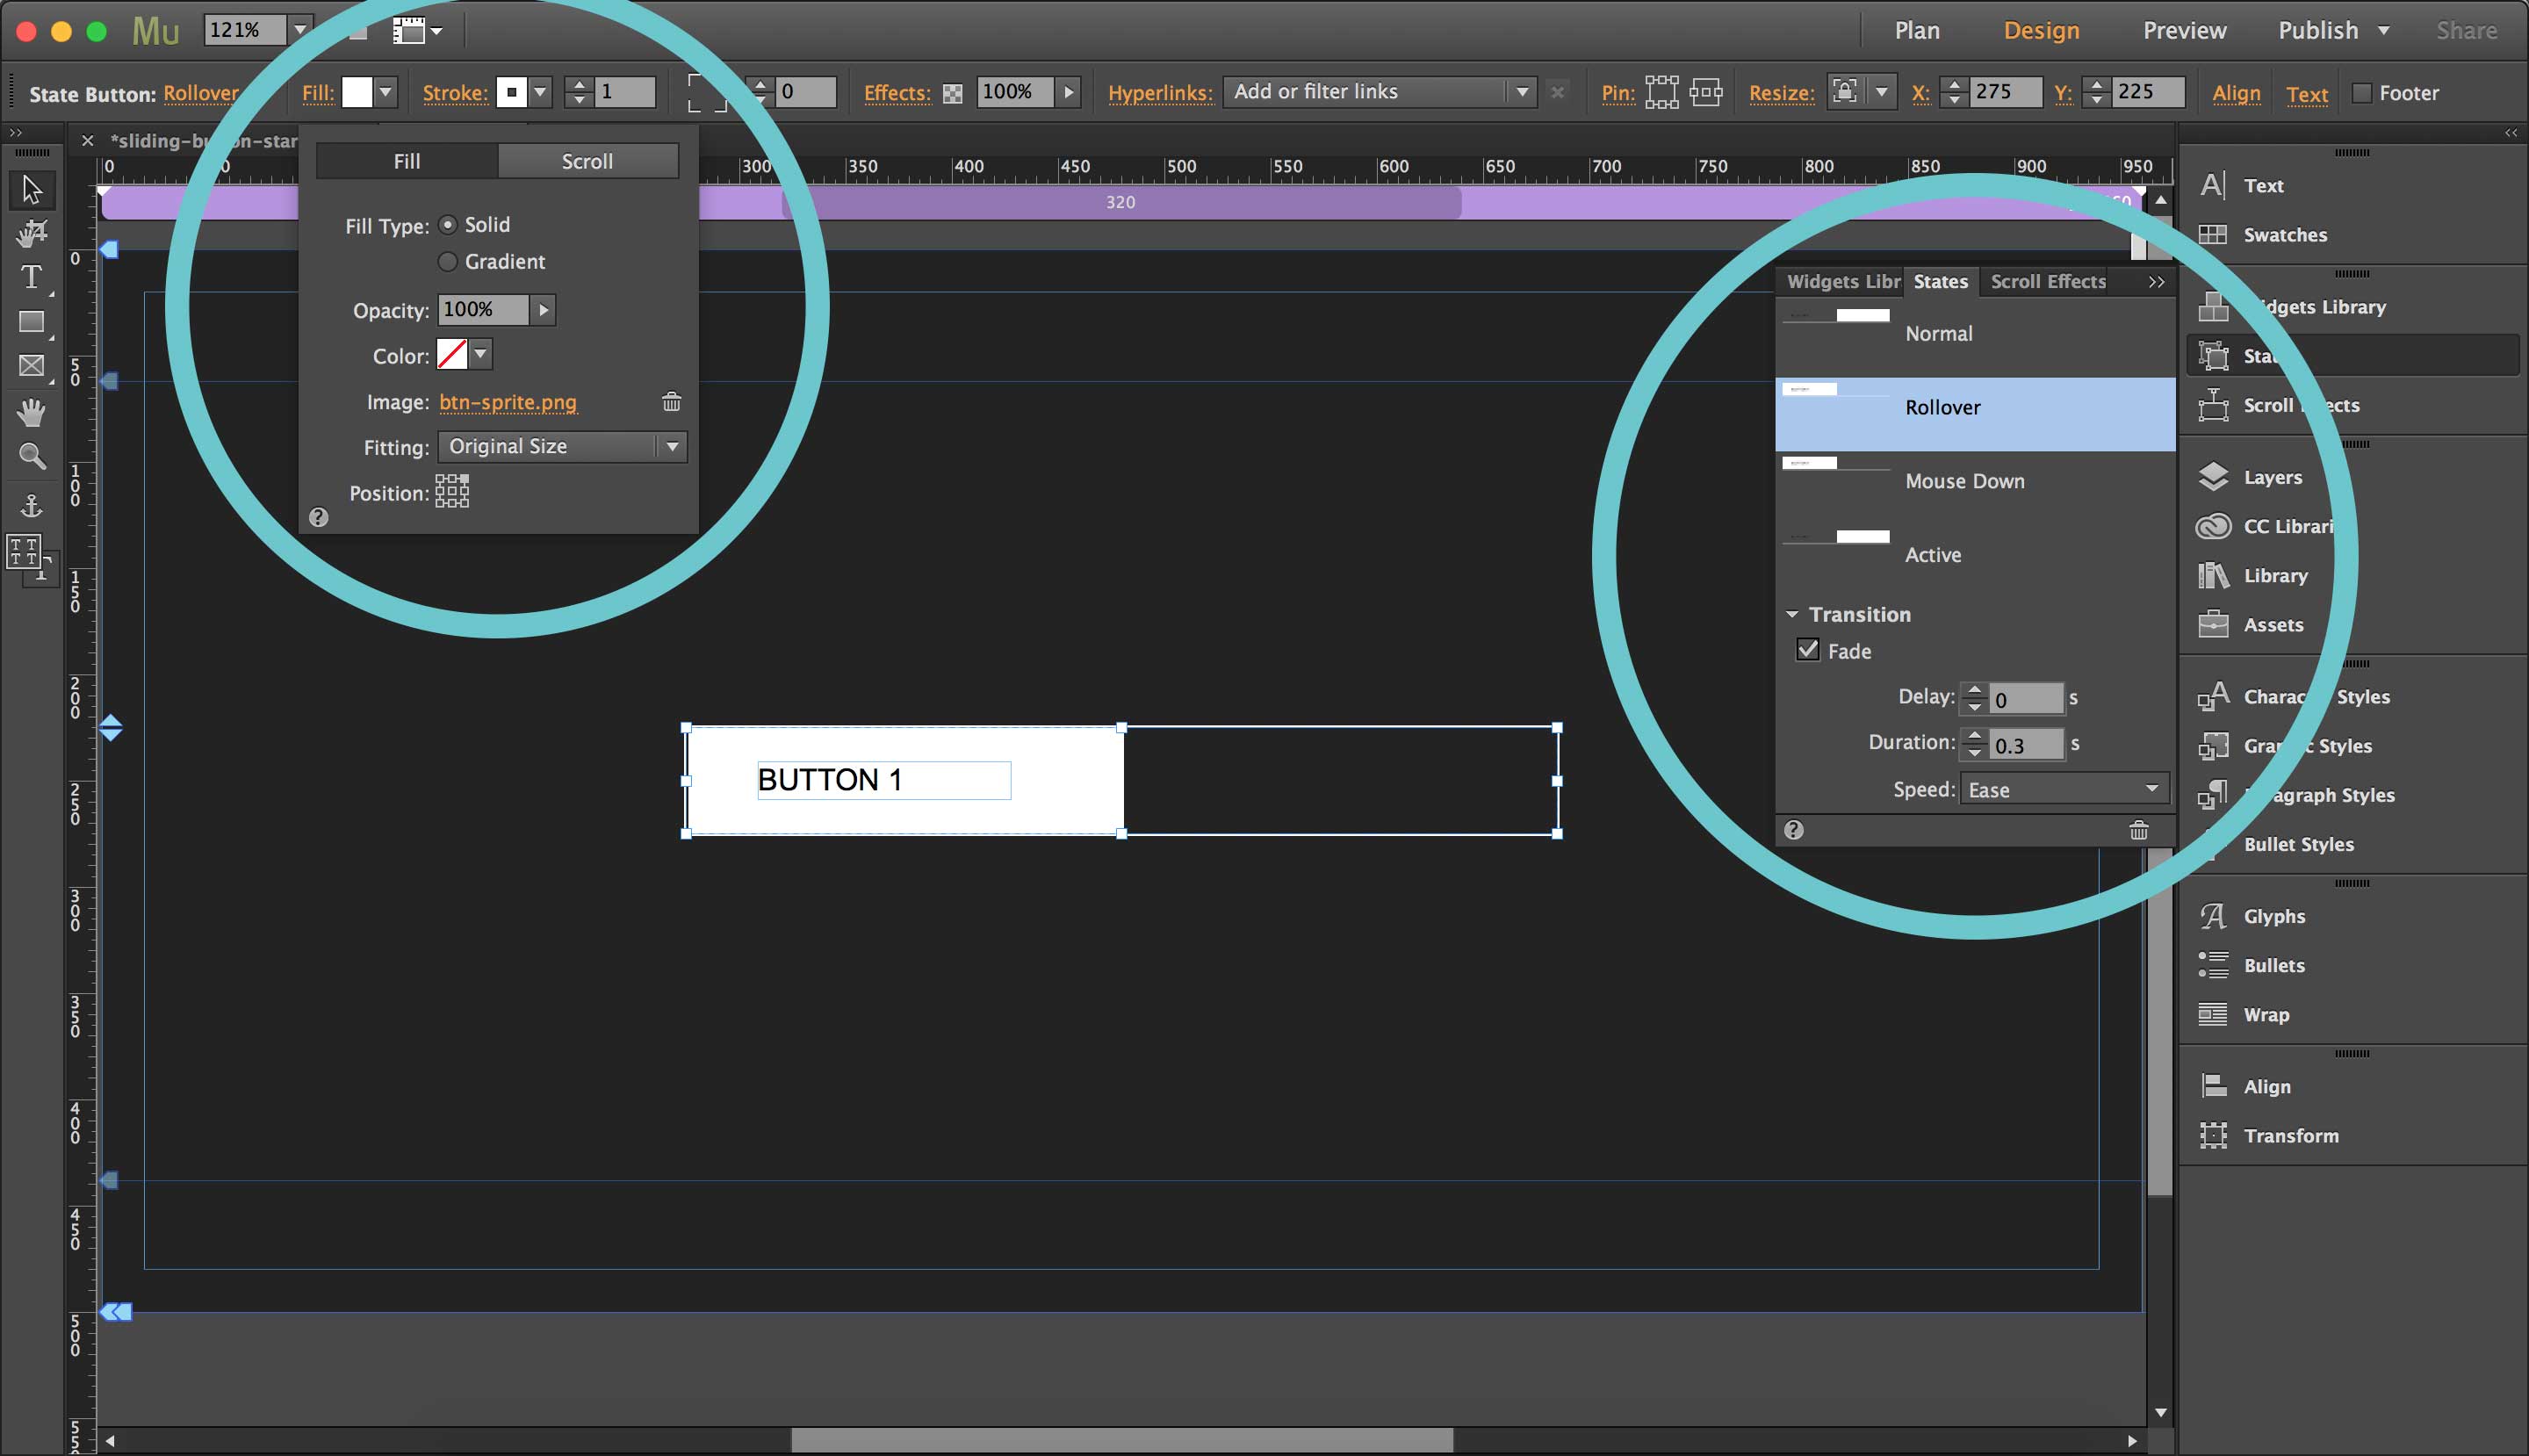
9. With the overall button selected, give the button an image fill under the Fill options panel in the top tool bar - Add Image "btn-sprite.png" in the Starter File Assets folder
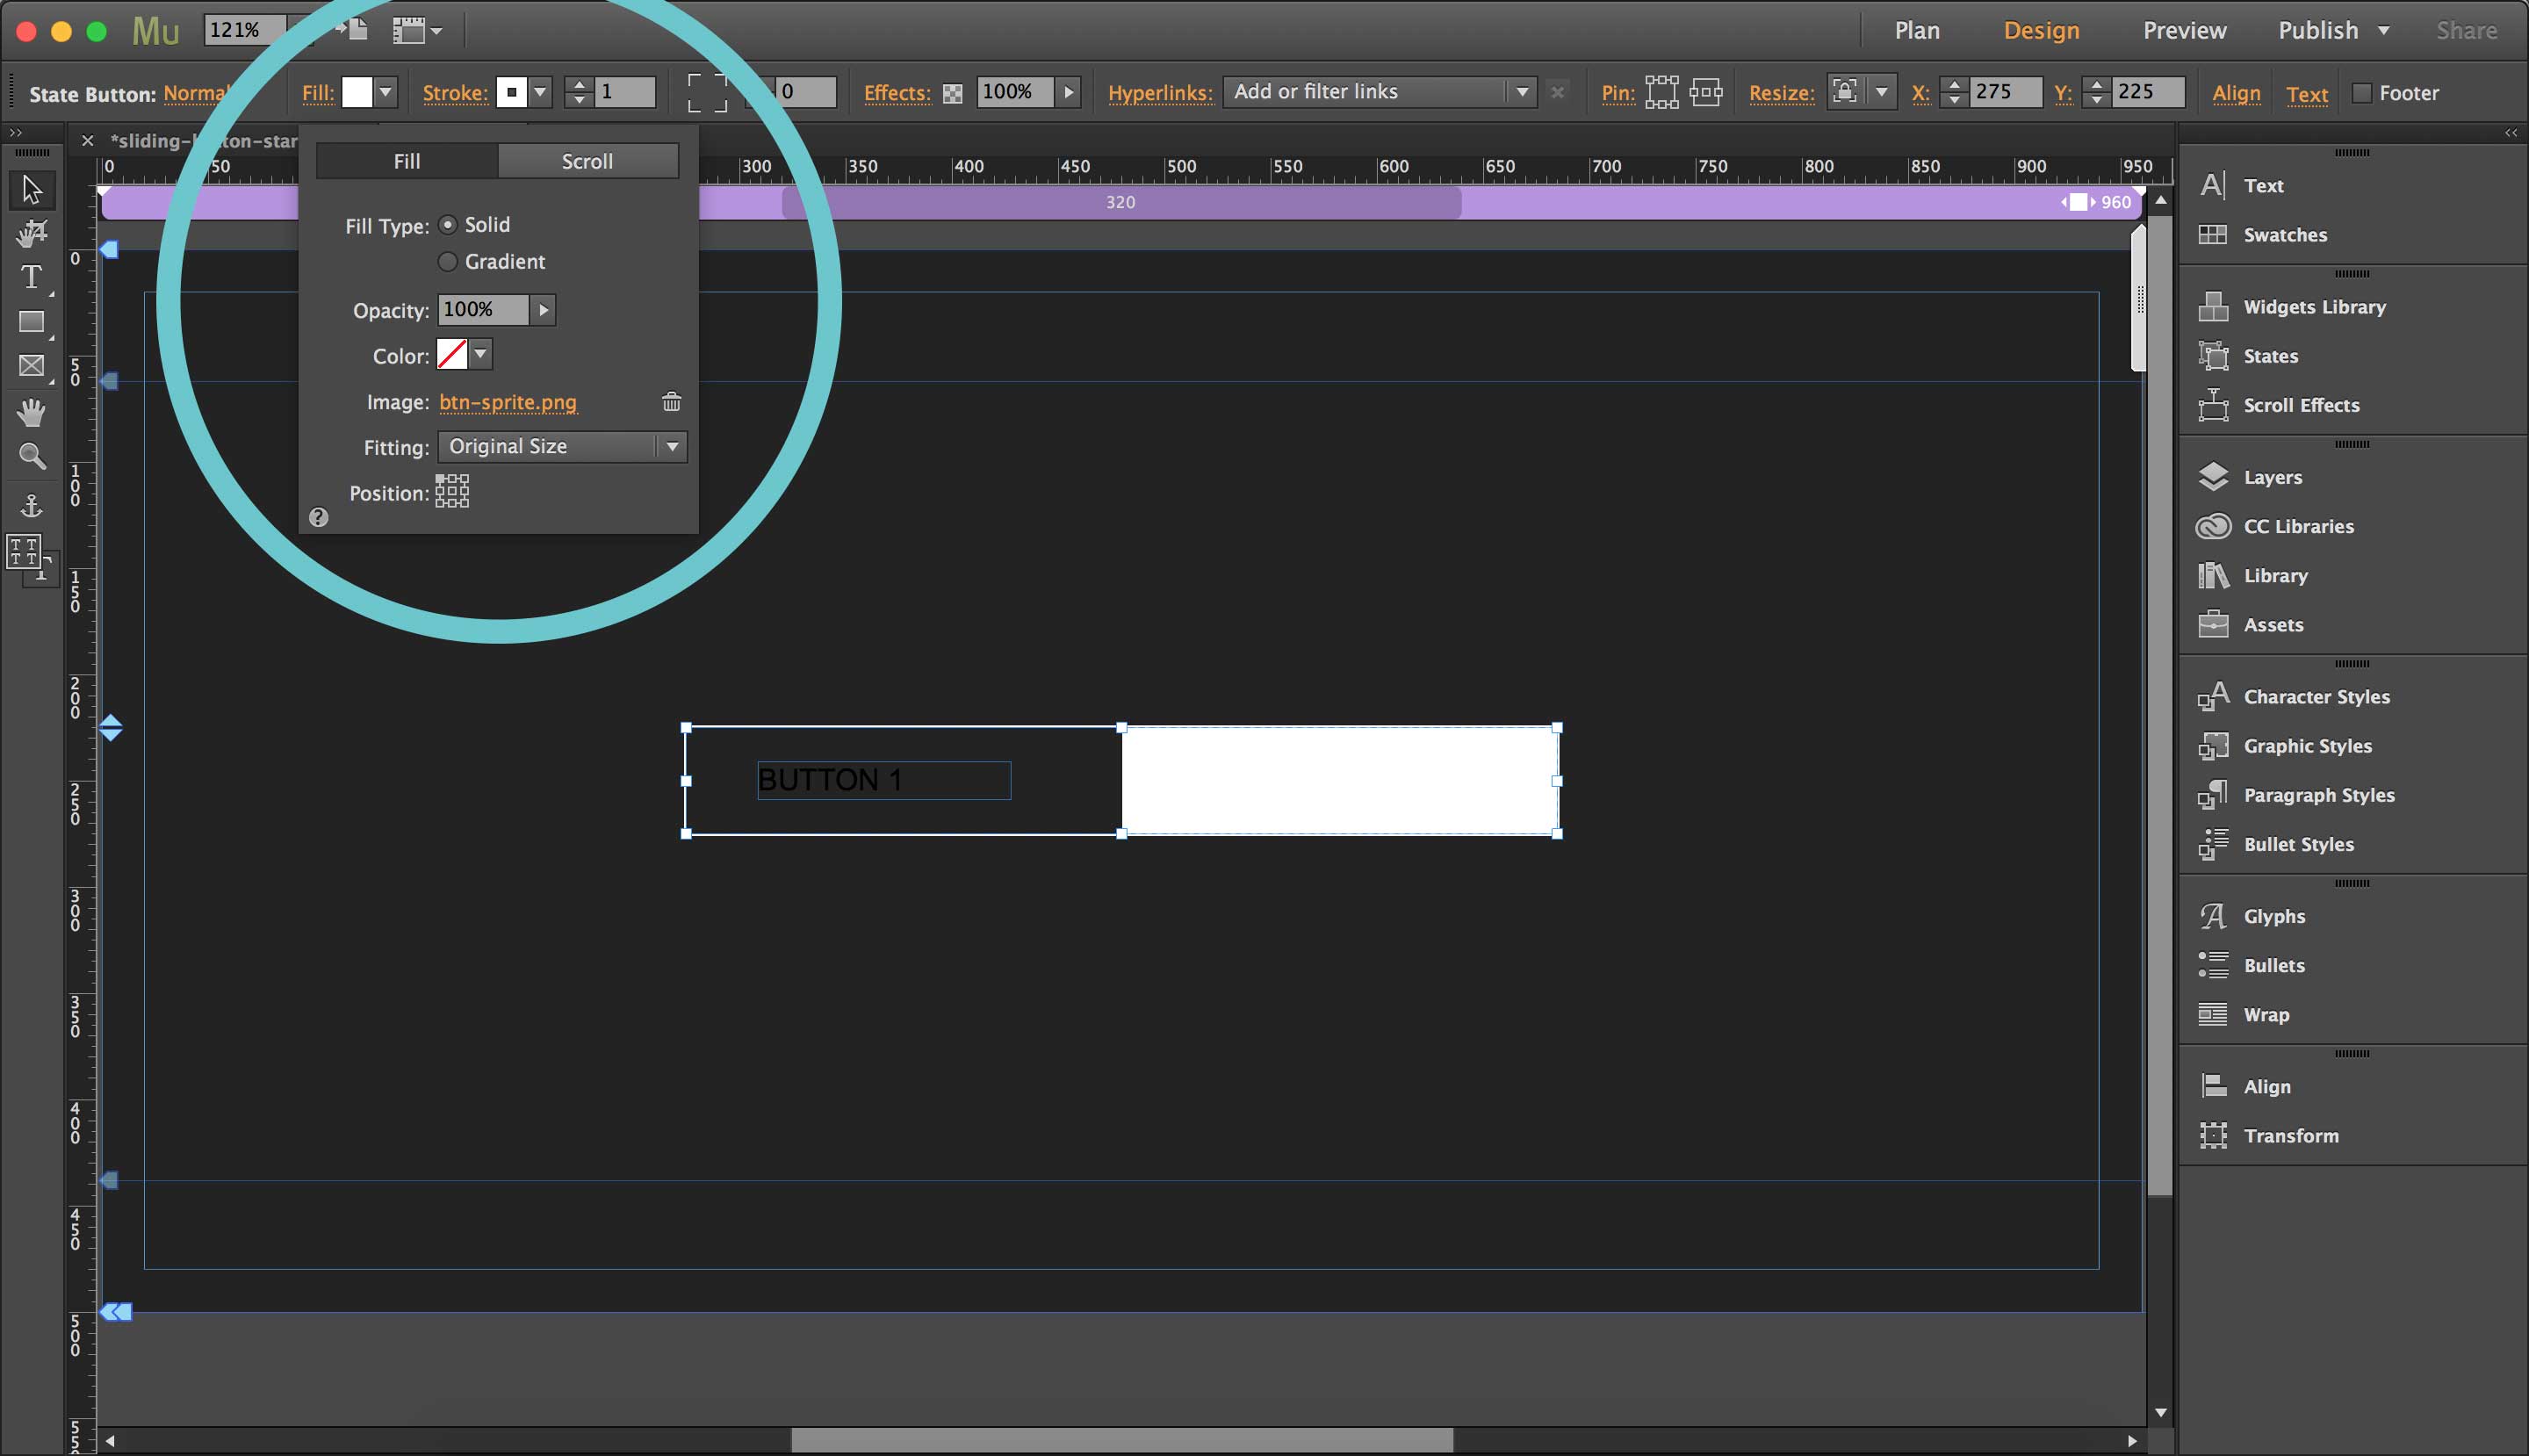
10. In the same Fill options panel in the top tool bar, set the image position to “Top-Left"
11. With the button selected, open the States panel
12. With the “Normal" state selected, turn on “Transition: Fade" – set Duration to 0.3s

13. Select the “Rollover" state in the States panel and change the position of the background image fill to “Top-Right" in the Fill options panel
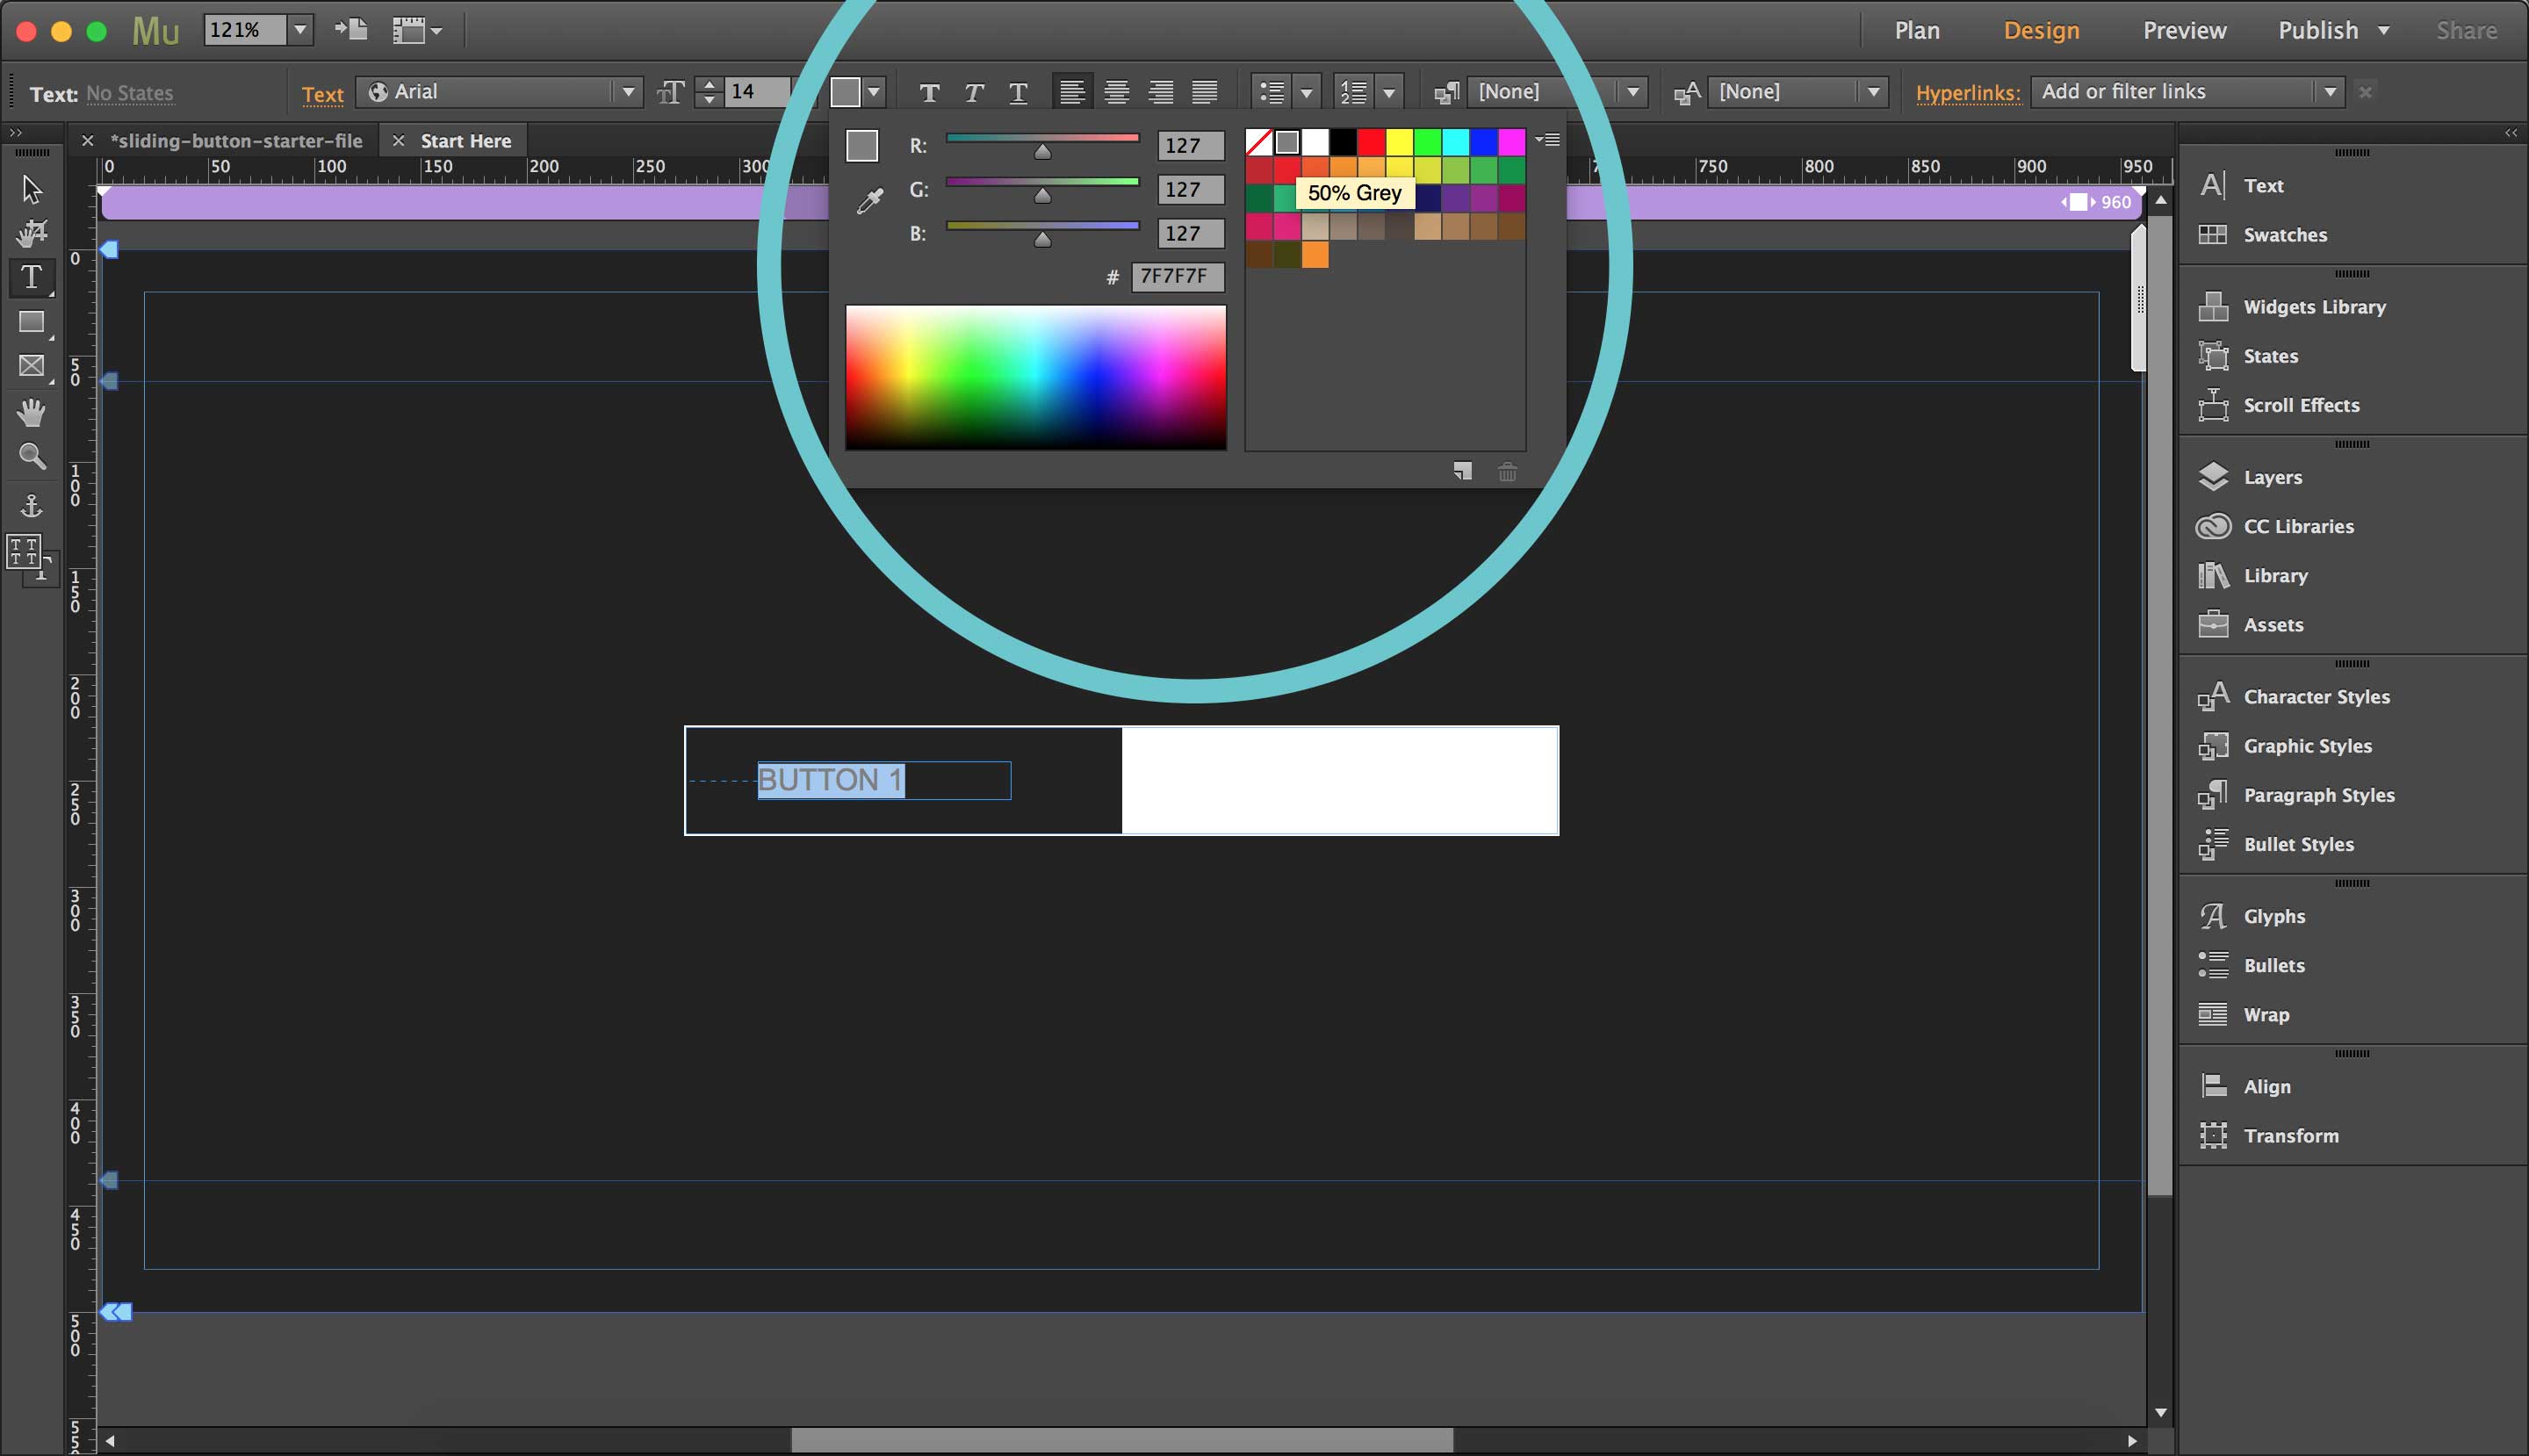
14. Click inside the button twice over the text box so that your button text is selected
15. Change the color of the text in the button to something that will show up on a white background (I chose gray)
16. Preview in browser – your screen should look something like the image below and you should see the background animate to the left when hovering
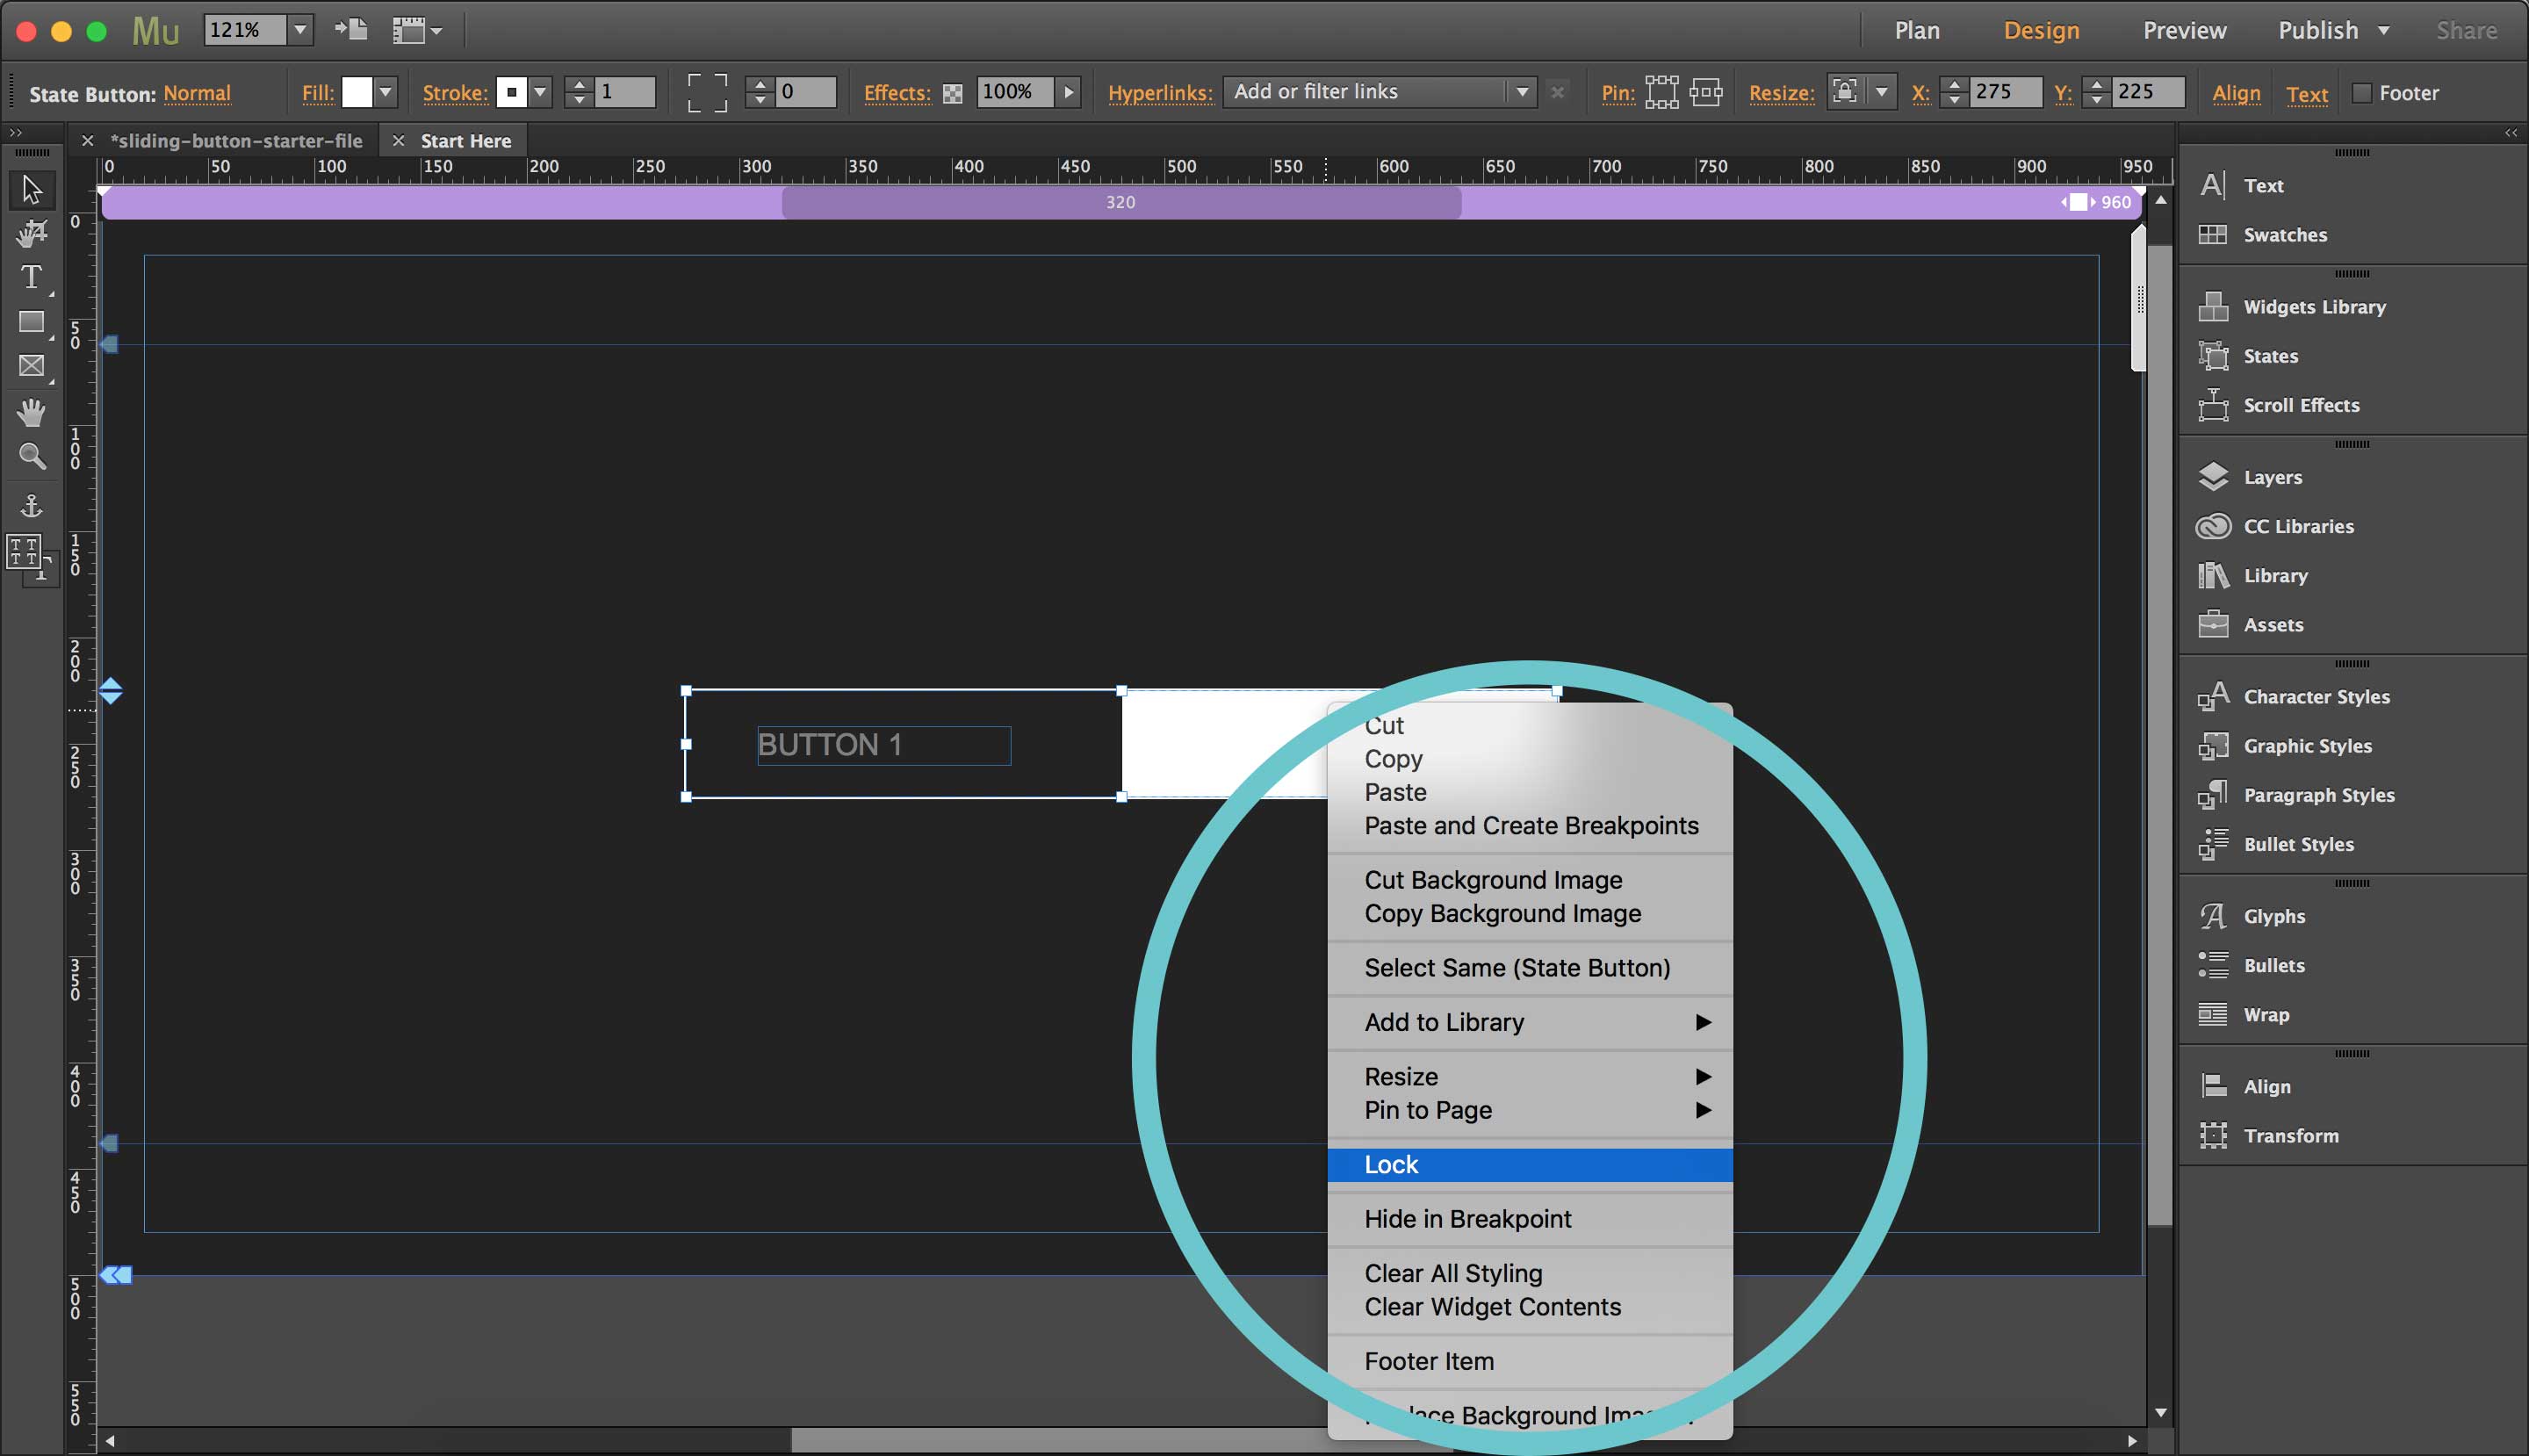
17. Right click your button and select "Lock" (we will be putting another button on top and don’t want this button pulling our second button inside of it)
18. Drag another button widget from the Widgets Library panel onto your canvas
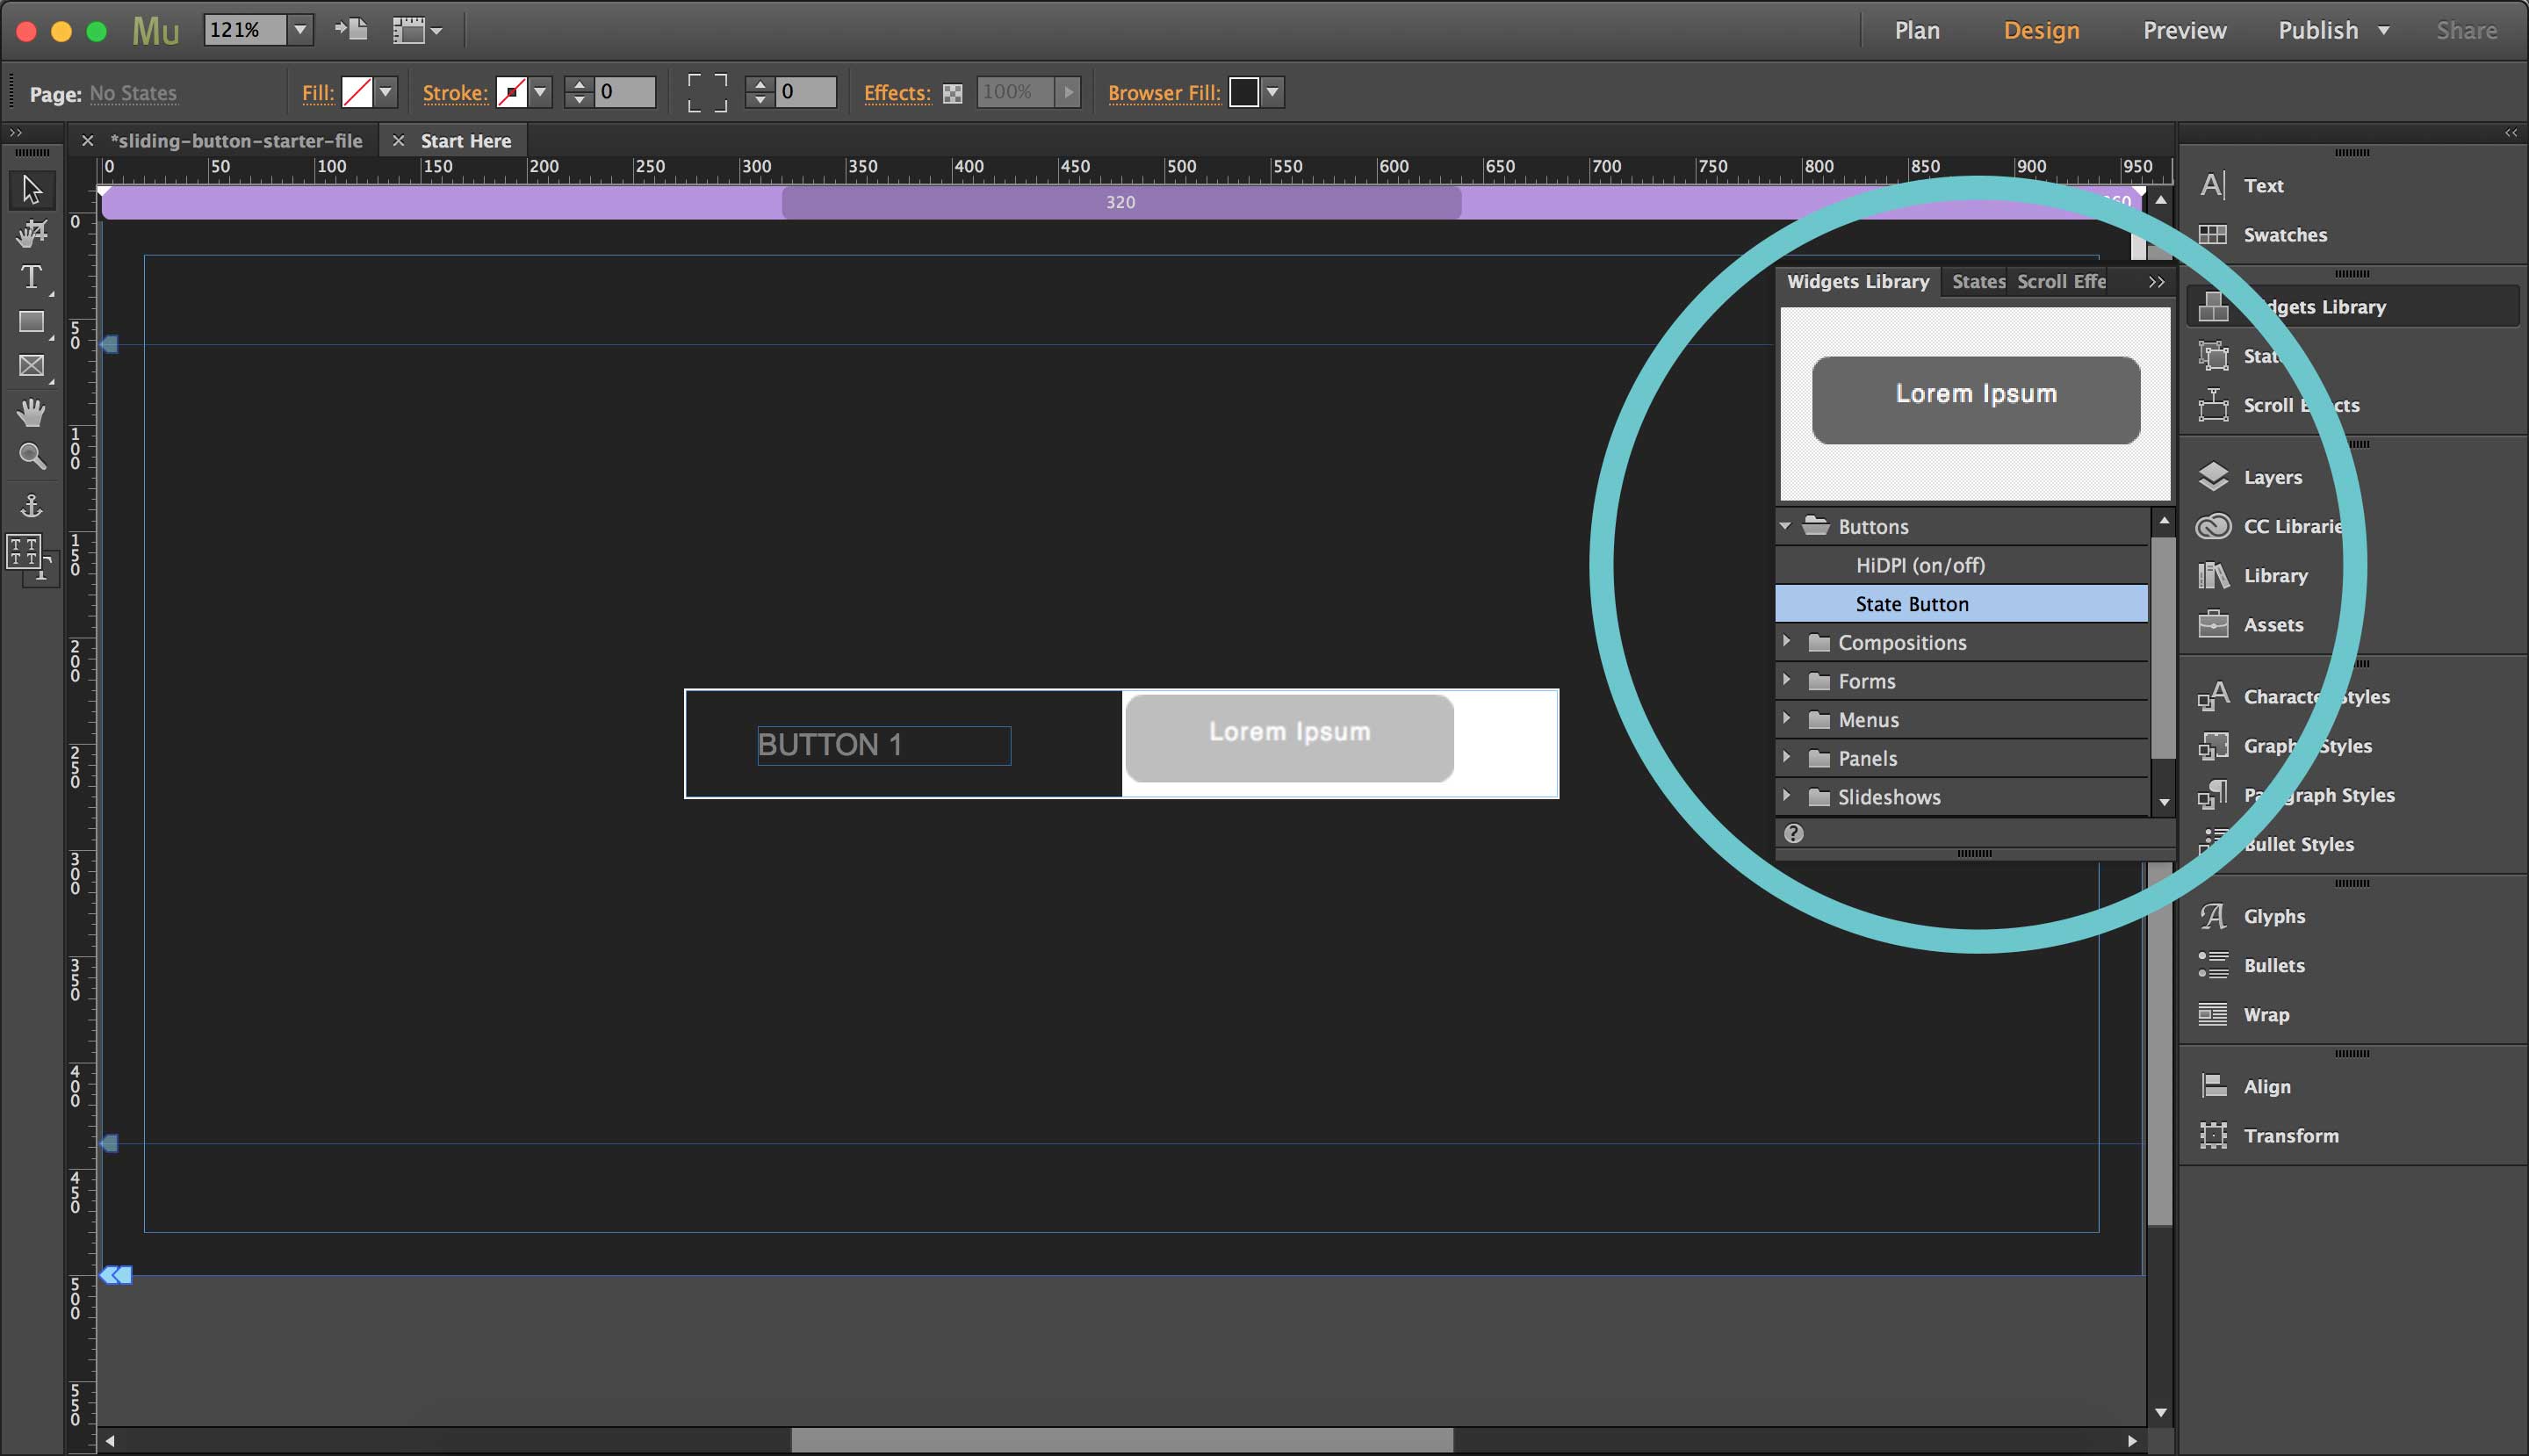
19. Make the dimensions of your button 205px (w) x 50px (h)
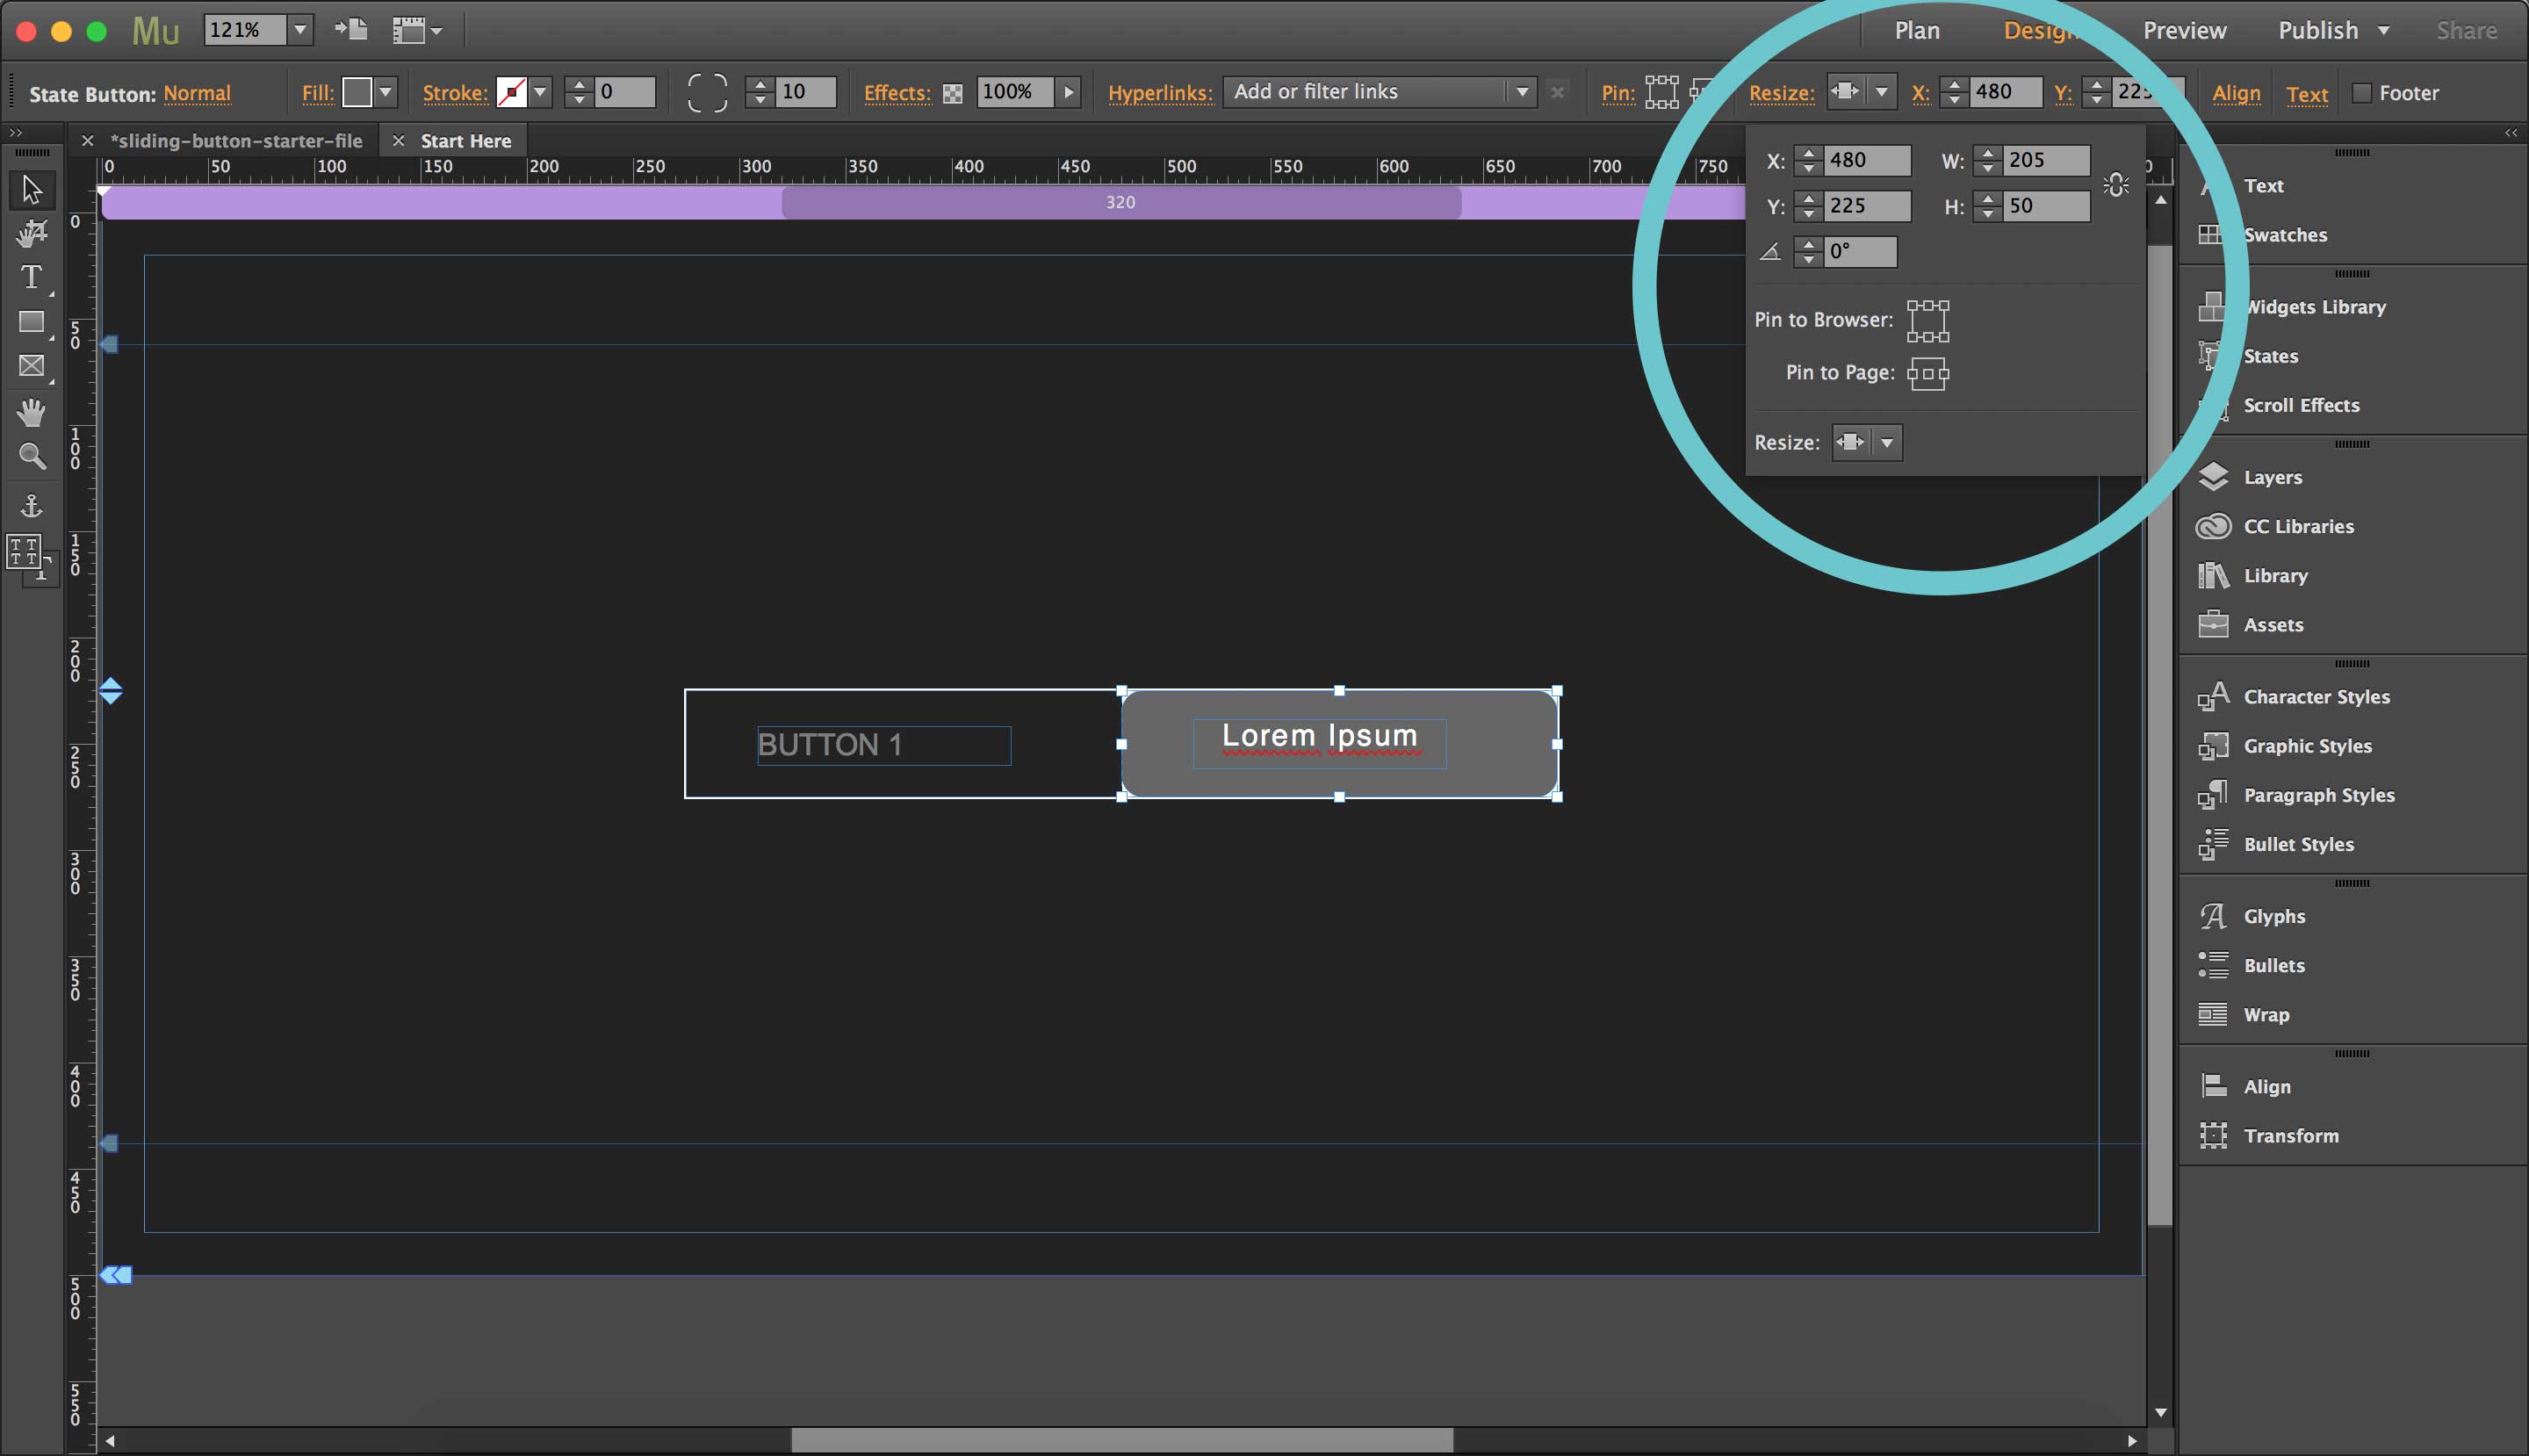
20. With the button you’ve created selected, right click and under Resize, select “None” from the responsive options in the drop down
21. With the button selected, right click again and select “Clear All Styling" from the drop down
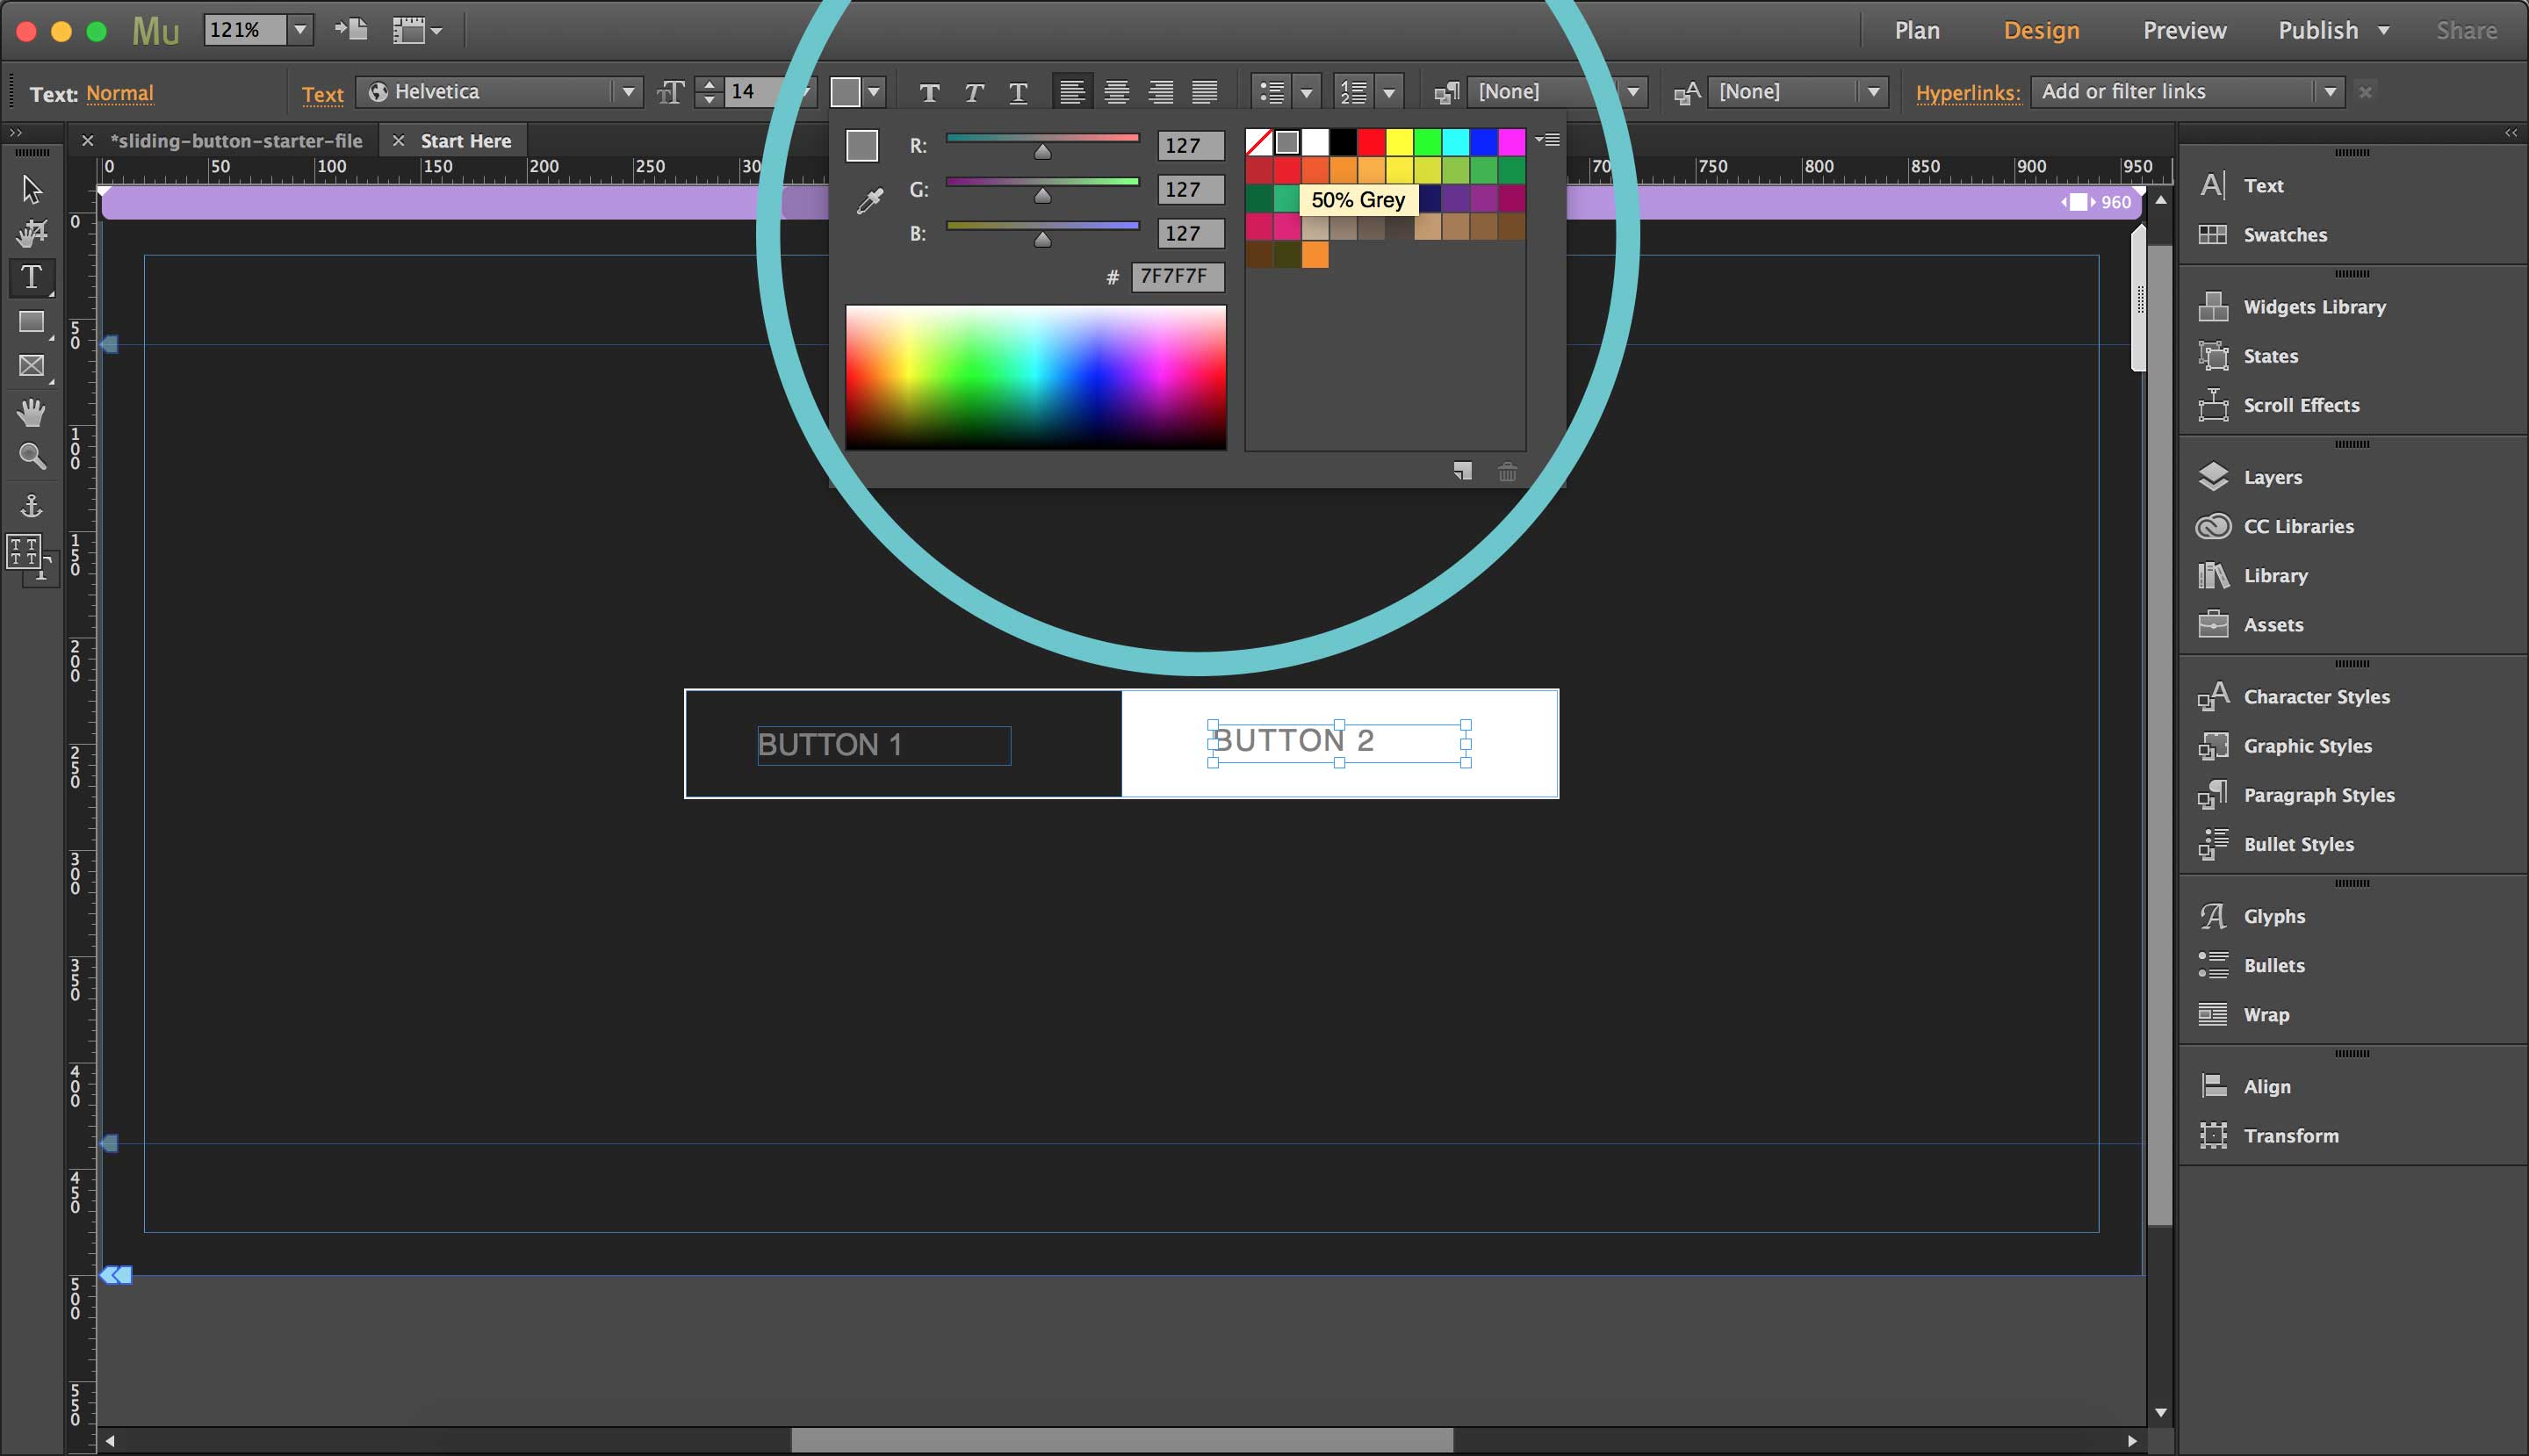
22. Change the text color in the second button to a color you will be able to see on light and dark backgrounds (I chose gray)
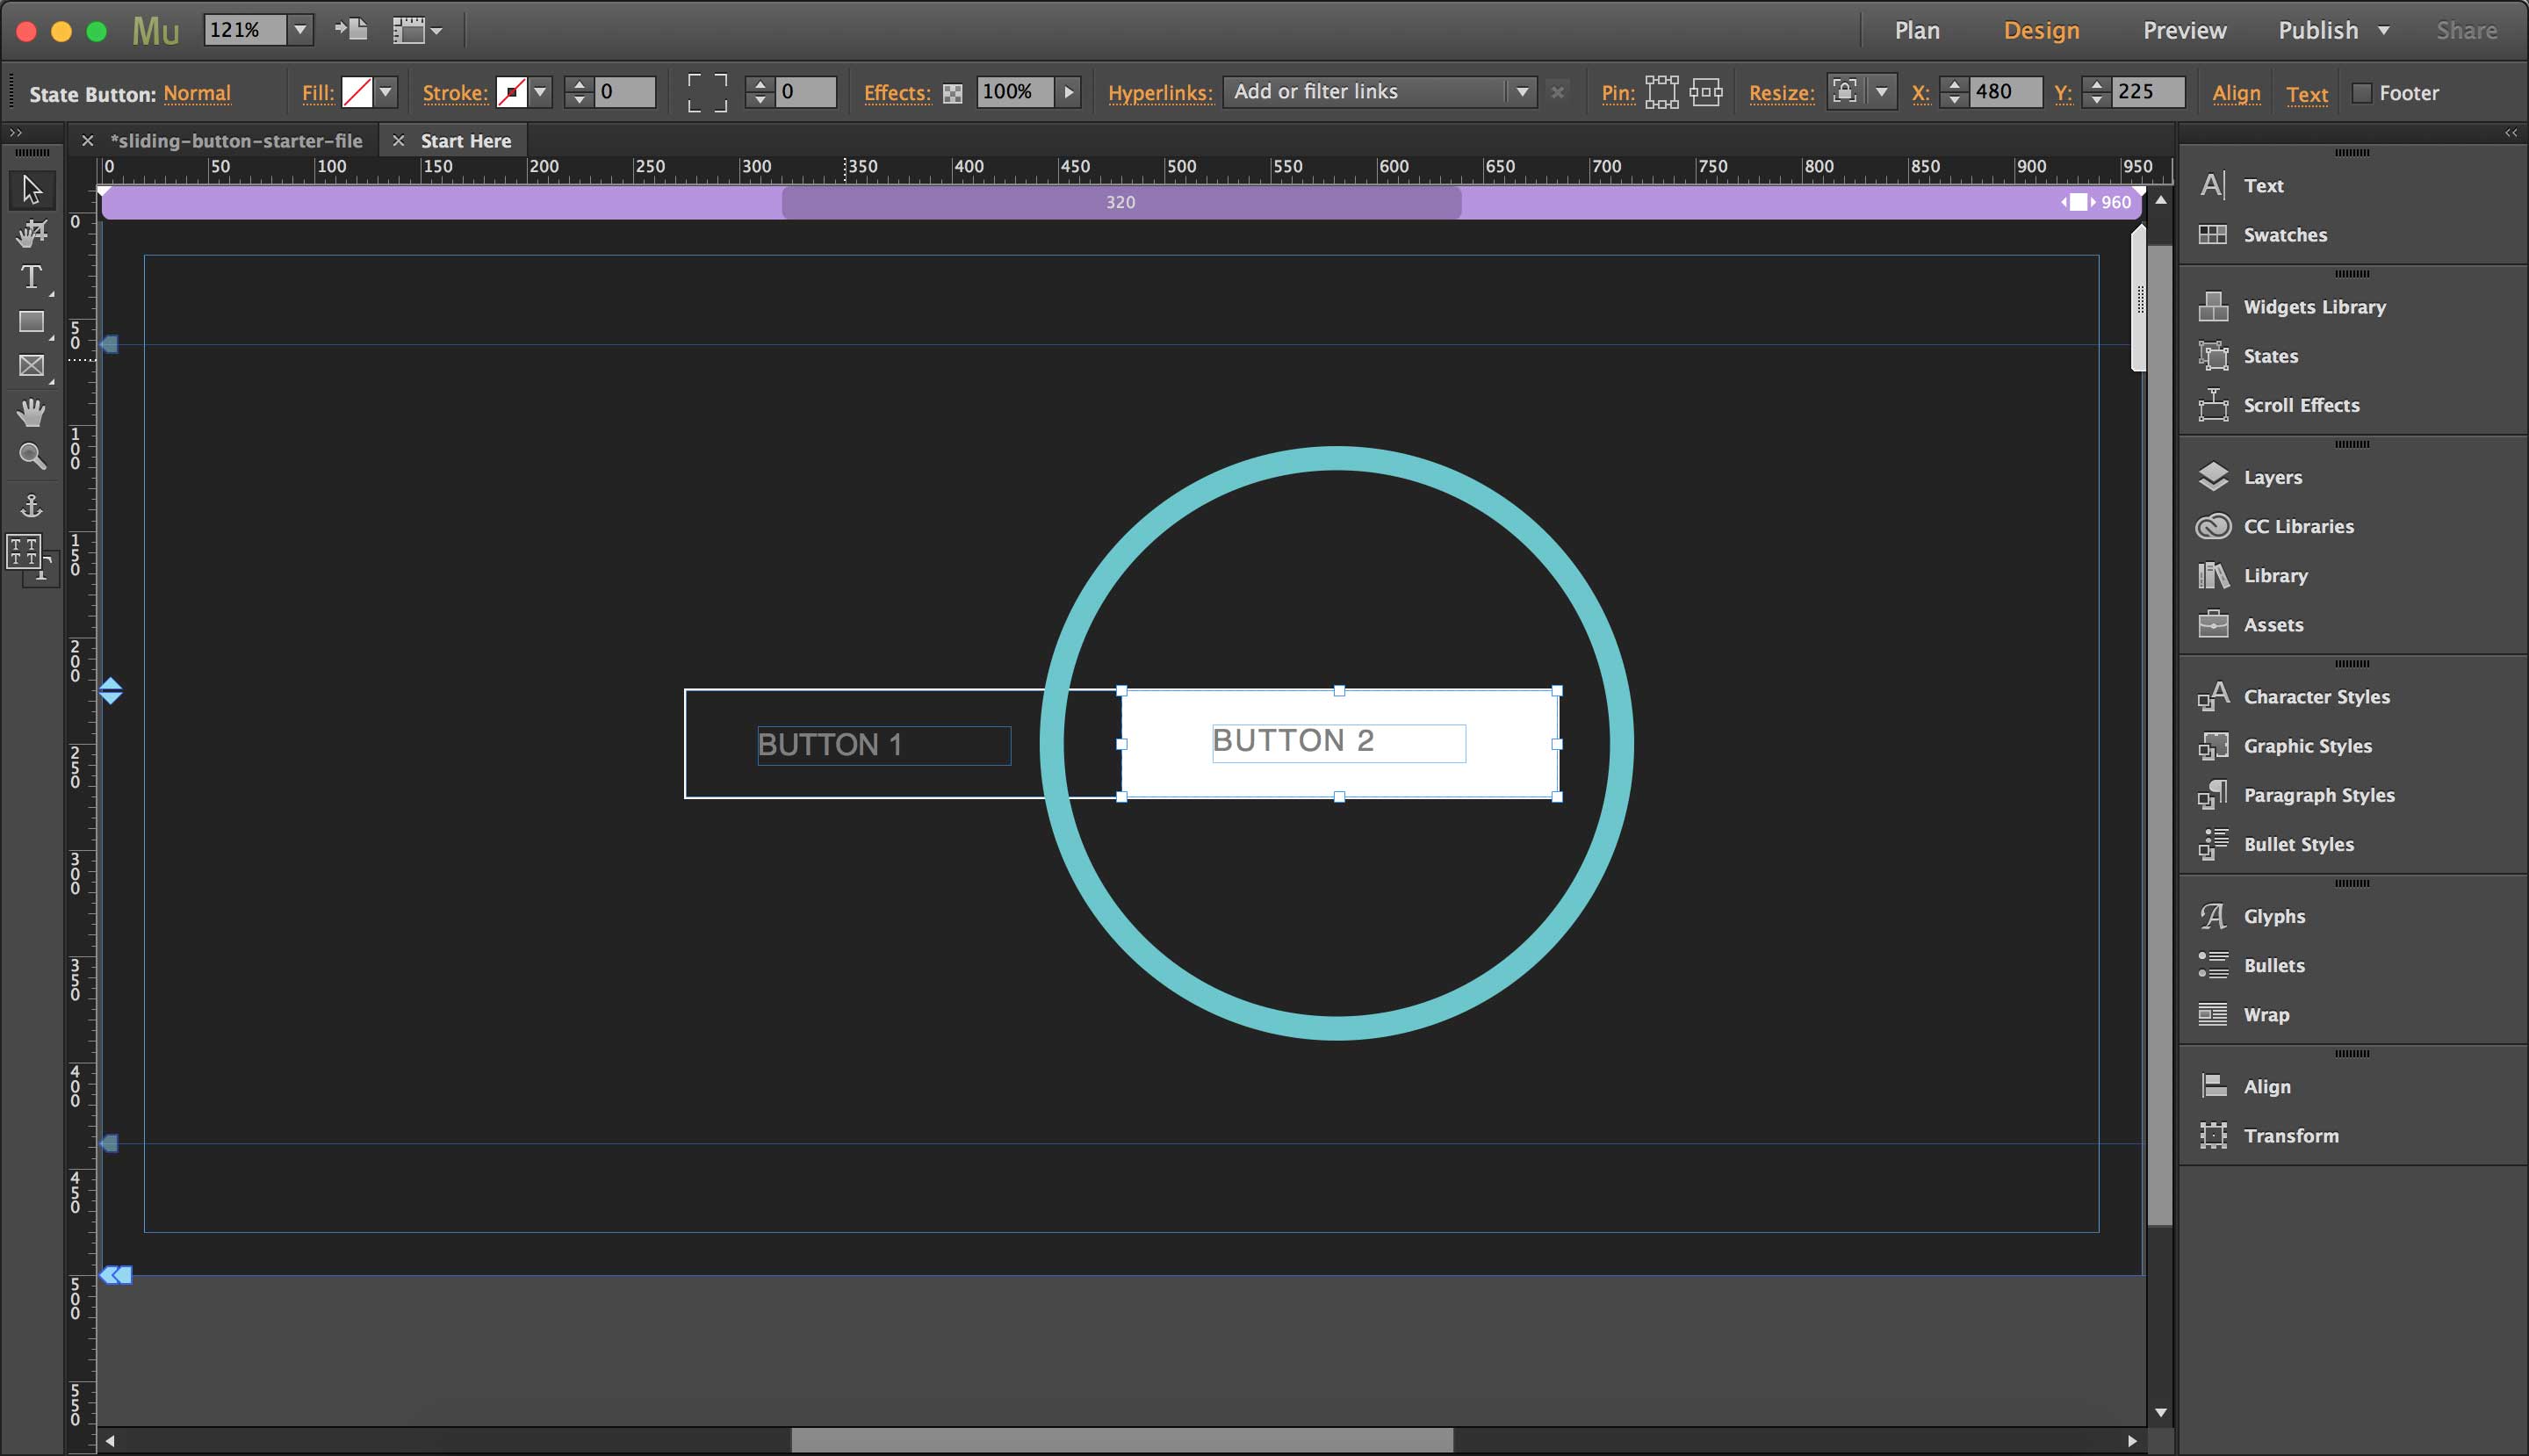
23. Position your second button over the right half of your first button
24. Preview in browser – that should do it, your screen should look like the image below. Play with colors, radius, and transparencies to achieve different effects.

I created a starter file for you, complete with a working demo on the "Complete" page. Check it out and download the package below.